
How to Cover Acne With Makeup in 2026: A Natural, Skin-Friendly Guide
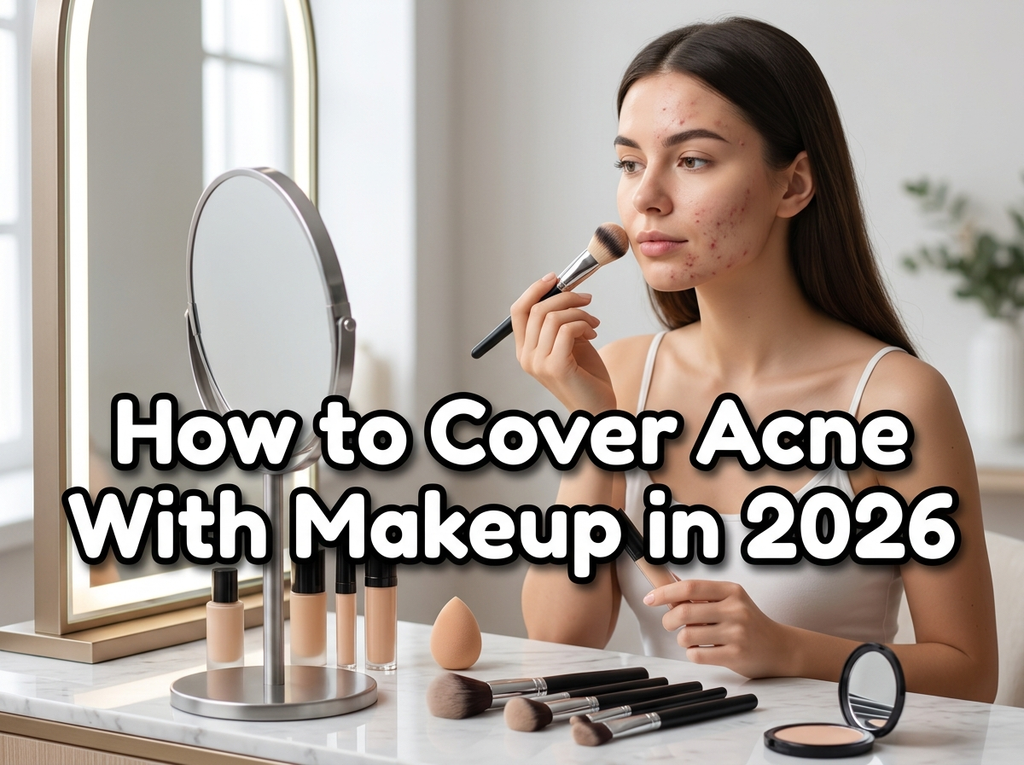
Acne can make applying makeup feel frustrating, especially when you want coverage without creating a thick, cakey finish. Whether you are dealing with active pimples, redness, post-acne marks, or uneven texture, the right technique can help your skin look more even while keeping the makeup comfortable.
How to cover acne with makeup is not about hiding every natural feature or applying several layers of foundation. It is about preparing the skin gently, choosing suitable products, placing coverage where it is needed, and blending the edges so the final result looks balanced. Some days, you may prefer full coverage. On others, a little concealer and a lightweight base may be enough.
This guide explains how to cover up acne, how to choose acne cover up makeup, how to hide pimples with concealer, and how to create natural makeup for acne-prone skin. It also covers makeup application mistakes, product hygiene, acne marks, skin texture, and practical ways to make your makeup look more natural in 2026.
Understanding How to Cover Acne With Makeup
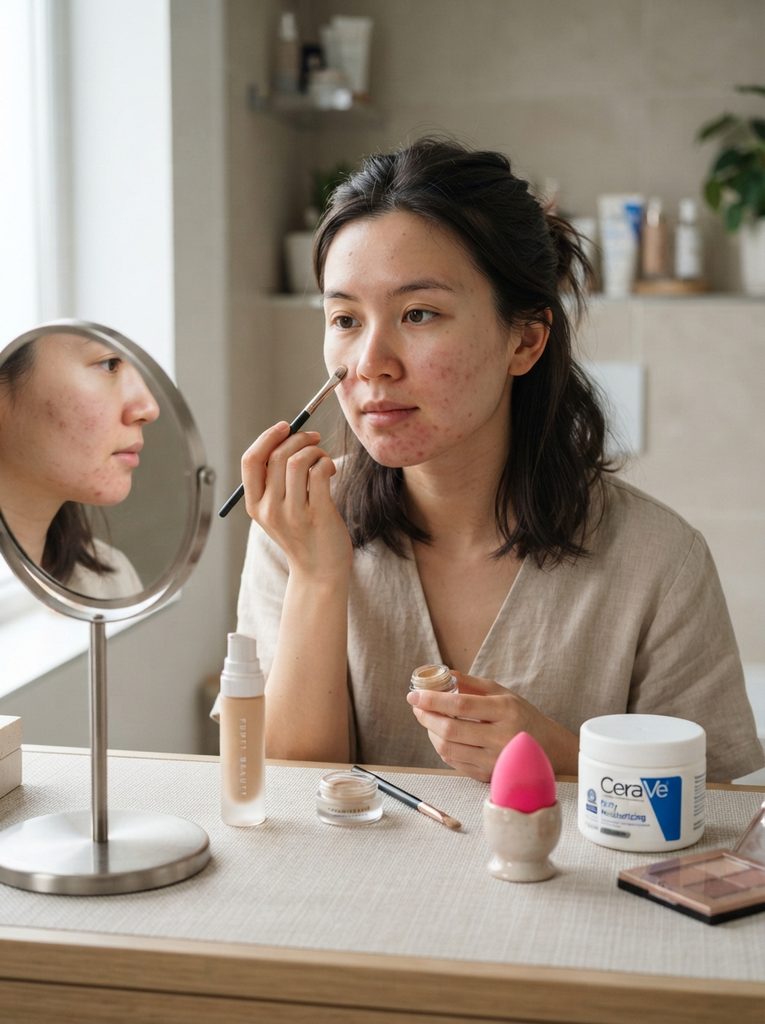
Before choosing foundation or concealer, identify what you are trying to cover. Active acne, redness, dark marks, shallow scars, raised texture, and dry patches do not respond to makeup in exactly the same way. A product that works well for discoloration may not conceal a raised blemish, and adding more foundation will not necessarily smooth the appearance of skin texture.
Active pimples often need targeted coverage rather than several layers across the entire face. A small amount of concealer placed directly over a blemish can provide more control than repeatedly applying foundation. Redness around the spot may also require a different approach from the raised center of the pimple.
Skin preparation matters just as much. Irritated or flaky skin can make makeup cling to dry areas, while excessive oil can cause the base to move during the day. Use a familiar moisturizer and allow it to settle before applying makeup. If a product causes stinging, burning, or irritation, stop using it.
Choose coverage based on your skin’s needs
You do not have to use full-coverage makeup every time you have acne. A light or medium base with targeted concealer can look more natural and may feel more comfortable. Full coverage can be useful for special occasions, but it should be applied in thin layers rather than built up everywhere.
How to Prepare Acne-Prone Skin Before Makeup
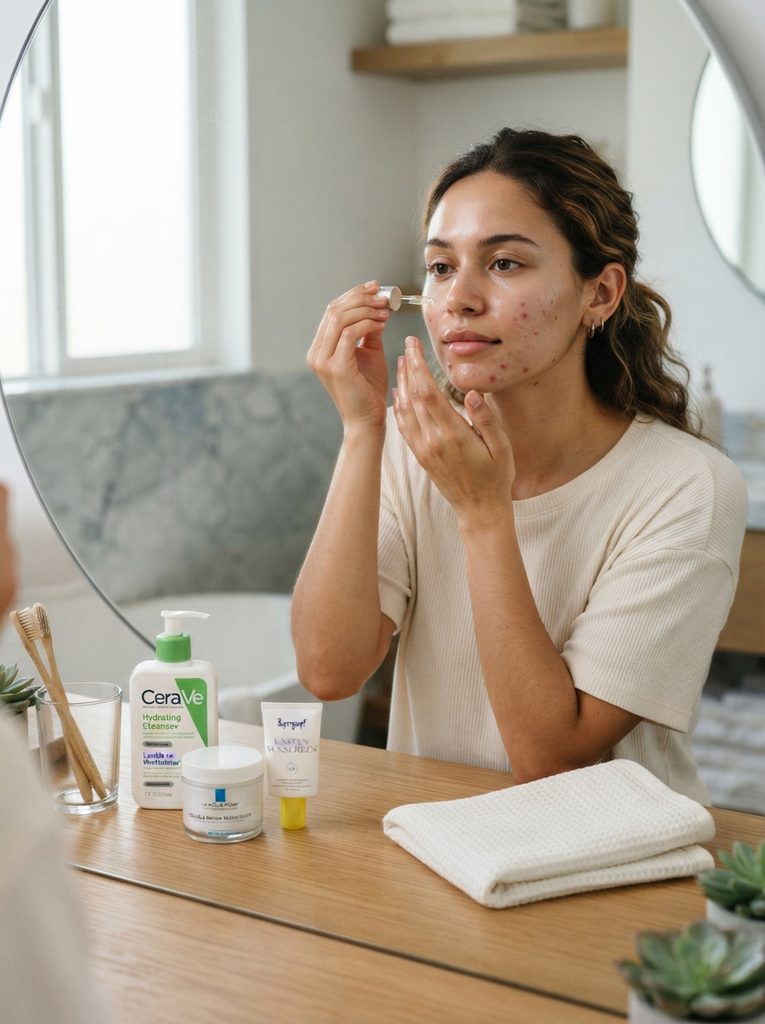
Good preparation creates a more even surface for makeup, but it should not involve aggressive scrubbing or multiple new skincare products. The aim is to support the skin barrier and reduce the chance of makeup emphasizing dryness, flaking, or irritation.
Start with a gentle cleanser that suits your skin. Pat the face dry instead of rubbing it with a towel. Apply a familiar moisturizer, focusing on areas that feel dry or tight. If you use acne treatments, follow the instructions provided by your healthcare professional or the product label. Some acne treatments can cause dryness or sensitivity, so your makeup routine may need to be adjusted.
Apply sunscreen during the daytime when appropriate, allowing it to settle before moving to primer and makeup. Choose a sunscreen that works with your skin type and does not make your base separate. You may not need primer across the entire face. A smoothing primer can be used on areas where texture is a concern, while a more hydrating product may work better on dry areas.
Avoid preparing the skin with harsh methods
Do not squeeze, scratch, or aggressively exfoliate a pimple immediately before applying makeup. These actions can increase irritation and may make redness more noticeable. Makeup cannot replace acne treatment, and persistent or painful acne may require advice from a dermatologist.
How To Hide Pimples With Concealer
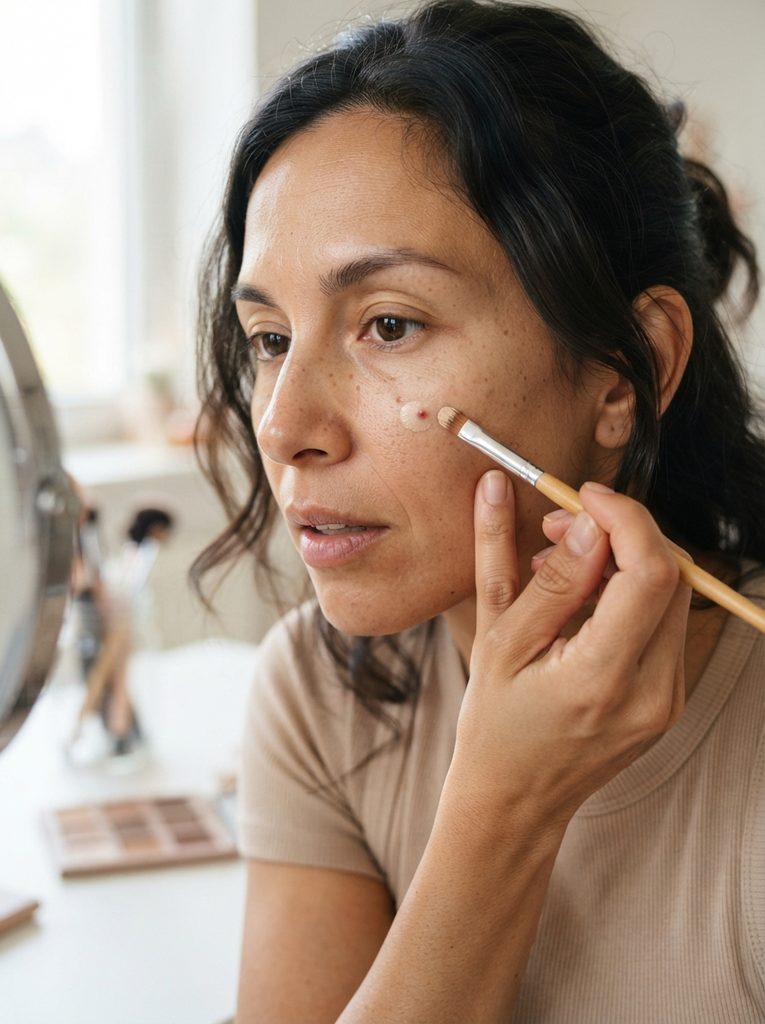
Concealer is one of the most useful products when covering up pimples with makeup because it allows you to apply coverage exactly where it is needed. Instead of spreading a thick layer over the whole face, use a small brush or clean fingertip to place a tiny amount of product over the blemish.
Choose a concealer that matches the surrounding skin rather than selecting a much lighter shade. A very pale concealer may draw attention to the area, especially when the pimple is raised. For red blemishes, a concealer with sufficient coverage and a suitable undertone may be enough. Color correction can help in some cases, but it is not always necessary.
Place the concealer at the center of the blemish, then gently tap the edges outward. Avoid dragging the product across the skin, as this can remove the coverage from the center. Allow the product to settle briefly before blending the border. If more coverage is needed, add a second thin layer instead of applying a large amount at once.
Use the right tool for targeted coverage
A small, clean concealer brush provides precision around individual spots. A fingertip can also work when used gently and with clean hands. Avoid repeatedly touching the blemish or pressing hard, especially if the area is painful or irritated.
Acne Cover Up Makeup: Choosing the Right Concealer
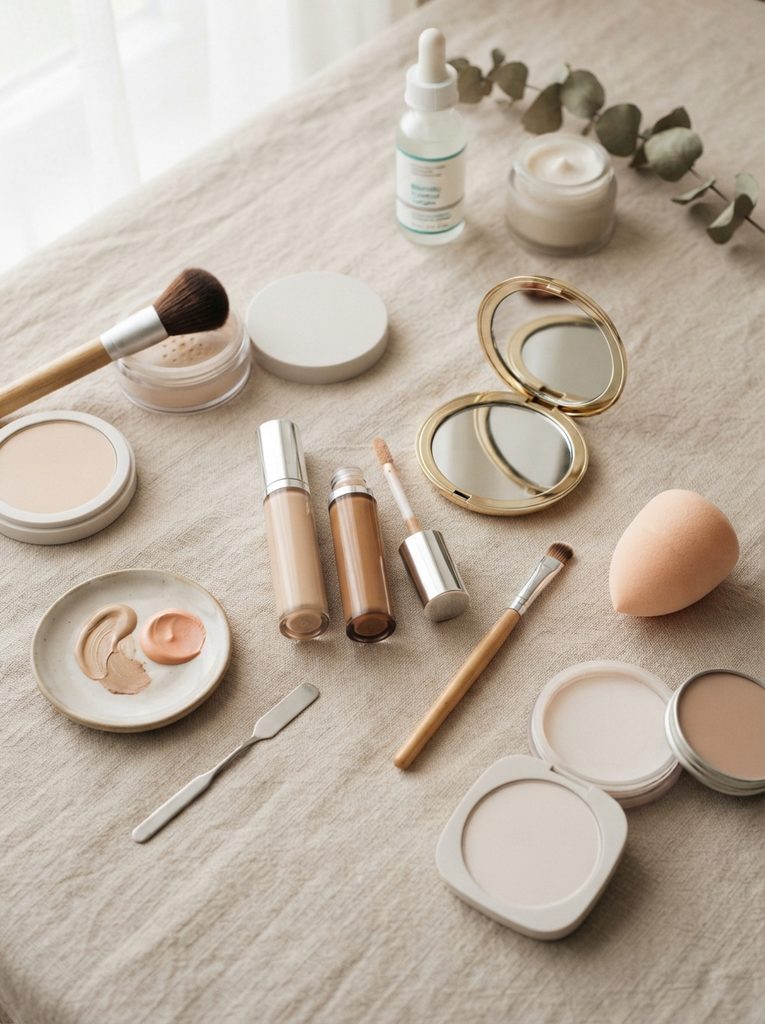
The best acne cover up makeup depends on the type of coverage you need, your skin’s finish preferences, and how the product behaves after several hours. There is no single concealer that works perfectly for every person with acne-prone skin.
For red or strongly visible blemishes, choose a concealer with enough pigment to reduce the appearance of discoloration in a thin layer. For post-acne marks, a medium-coverage concealer may be sufficient. If your skin is dry or flaky, a very matte formula can sometimes emphasize texture. If your skin becomes oily, an overly creamy formula may move more easily unless it is set appropriately.
Look for products that are easy to blend and remove. If you are prone to breakouts, consider formulas labeled non-comedogenic, while remembering that this label does not guarantee that a product will suit every individual. Patch testing and observing how your skin responds can be more useful than relying on packaging claims alone.
Match the finish to the area
A natural or satin finish often works well for the center of the face because it looks less flat than a very dry matte finish. A small amount of setting powder can improve longevity, but applying too much powder over raised or dry blemishes may make their texture more noticeable.
Makeup That Covers Acne Without Looking Cakey
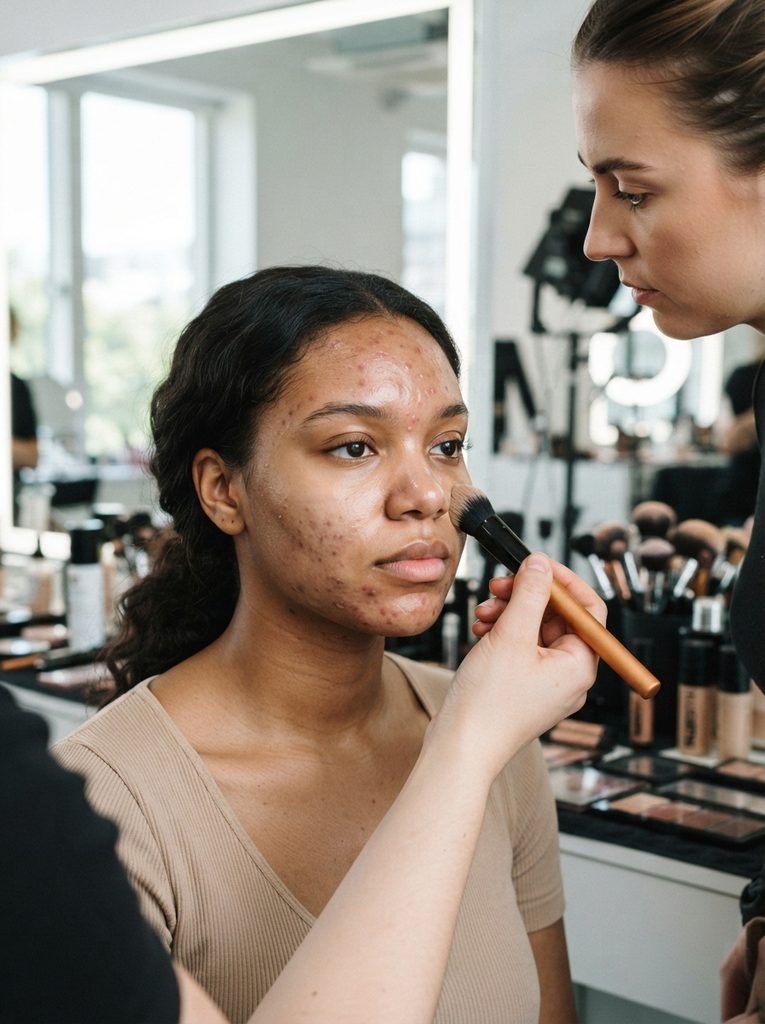
Makeup that covers acne does not need to look thick. The most natural results usually come from applying coverage selectively and allowing the rest of the skin to remain lighter. This creates contrast between covered areas and uncovered areas that is less noticeable than a heavy layer of foundation across the whole face.
Begin with a thin base. Apply foundation from the center of the face outward, then check which areas still need coverage. Use concealer on individual blemishes, around the nose, or on areas with stronger discoloration. Blend the edges carefully while keeping the center of the blemish covered.
The amount of product matters, but the finish also depends on the skin underneath. If the skin is flaky, makeup may separate regardless of how expensive the foundation is. If the skin is oily, too many emollient layers may cause the base to slide. Adjust the preparation and application method rather than continually adding more makeup.
Build coverage gradually
Apply, pause, and check the result in natural light. It is easier to add another thin layer than to remove an overly heavy base. Use a clean sponge or brush and avoid repeatedly rubbing the same area.
How To Cover Acne With Makeup for Redness and Discoloration
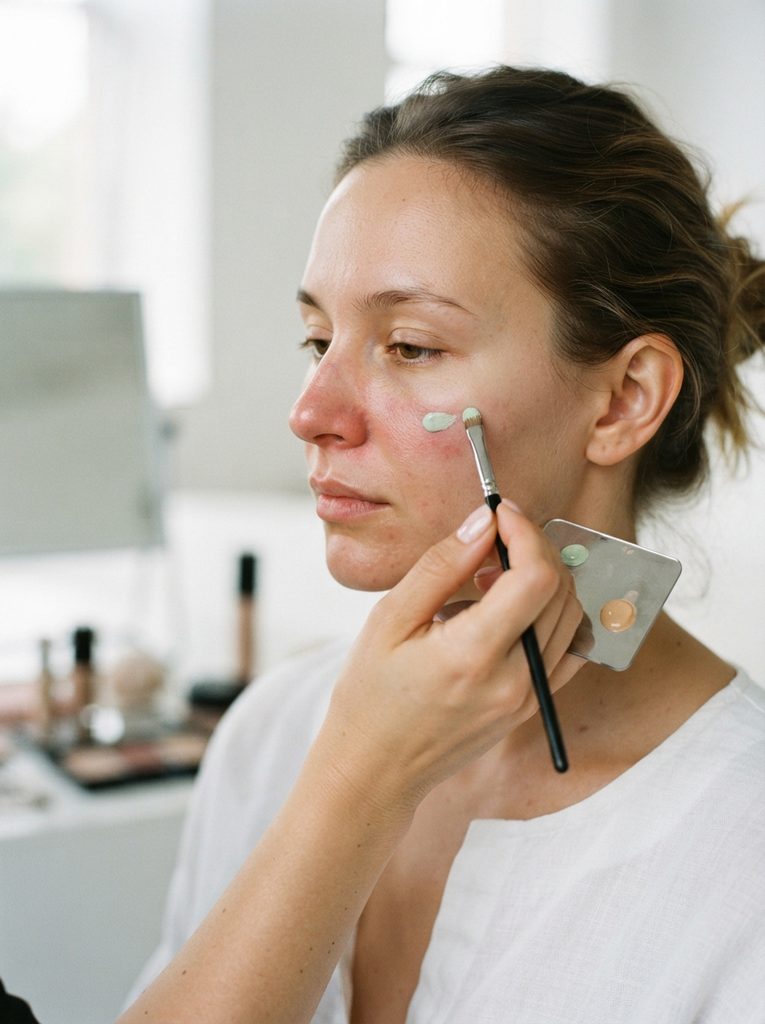
Redness can be one of the most noticeable aspects of acne, but it does not always require green color corrector. A well-matched foundation or concealer may reduce the appearance of redness on its own. Color correction is an optional technique that can be useful when discoloration remains visible through a thin layer of base makeup.
If you use a green corrector, apply a very small amount only to the red area. Blend the edges carefully and cover it with a skin-matched concealer or foundation. Applying too much green product can make the area look gray or uneven, particularly on deeper skin tones.
Brown or purple post-acne marks may need a different approach. Choose a concealer that provides enough coverage and matches your skin. The goal is to reduce contrast between the mark and the surrounding complexion, not necessarily to erase every trace in one application.
Do not use one color-correction rule for every skin tone
Color correction depends on the depth and undertone of the discoloration, as well as your natural complexion. Test a small amount in natural light. If the corrected area looks gray, orange, or noticeably different from the surrounding skin, adjust the shade or use a skin-matched concealer instead.
What the American Academy of Dermatology Recommends
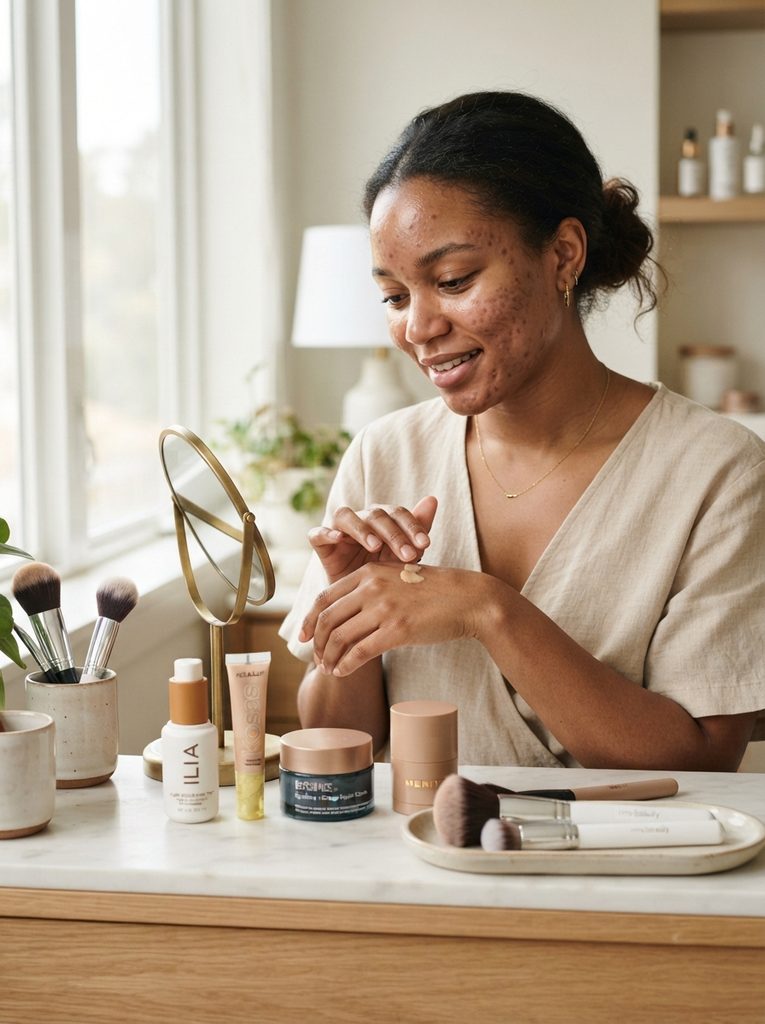
The American Academy of Dermatology confirms that people with acne can wear makeup, but product selection and hygiene matter. Dermatologists recommend looking for labels such as oil-free, non-comedogenic, or won’t clog pores. They also advise removing makeup before bed, cleaning brushes regularly, and applying cosmetics gently. Read the American Academy of Dermatology’s makeup guidance for acne-prone skin for the full recommendations.
Makeup can help reduce the appearance of blemishes, but it does not treat every cause of acne. If breakouts are persistent, painful, deep, or leaving scars, consider speaking with a qualified dermatologist instead of relying only on cosmetic coverage.
Makeup to Cover Scars and Post-Acne Marks
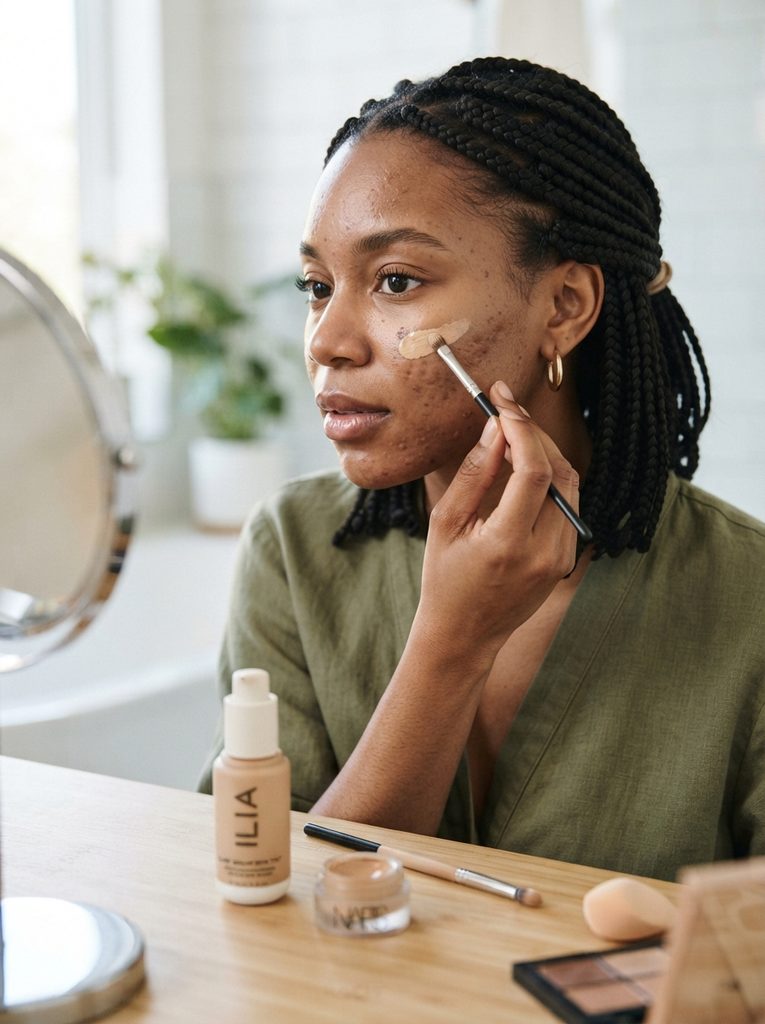
Makeup to cover scars requires a slightly different technique from covering active pimples. Post-acne marks may appear red, brown, purple, or darker than the surrounding skin, while acne scars can create changes in texture, such as shallow depressions or raised areas. Makeup can reduce the appearance of discoloration, but it cannot completely change the physical texture of a scar.
Start with a thin layer of foundation and assess which areas need additional coverage. Apply a small amount of concealer to dark or red marks, then tap the edges until the transition looks natural. If a scar is indented, avoid applying excessive product directly into the depression. Too much makeup can collect around the edges and make the texture more noticeable.
A smoothing primer may help create a more even visual finish on some areas, but it will not permanently fill or remove acne scars. Use a product that feels comfortable on your skin, and avoid repeatedly rubbing the affected areas.
Focus on reducing contrast
The most natural result often comes from reducing the color difference between a mark and the surrounding skin. Choose a concealer that matches your complexion and build coverage slowly. For significant acne scarring, professional dermatological treatments may be more appropriate than increasing makeup layers.
Natural Makeup for Acne-Prone Skin
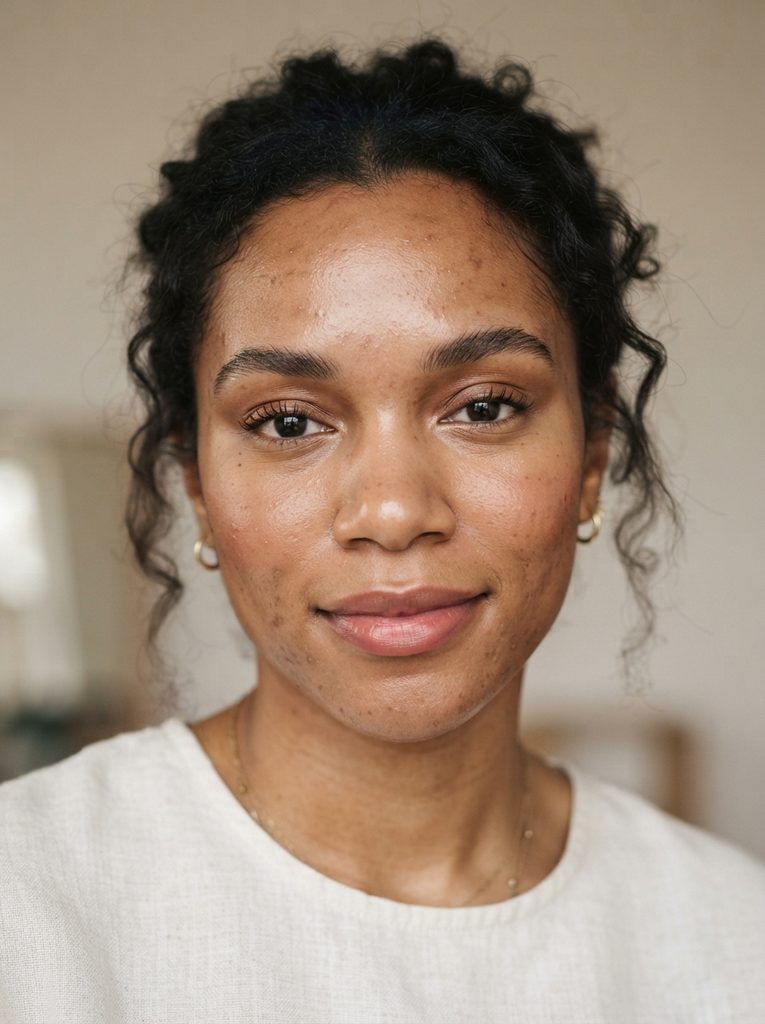
Natural makeup for acne-prone skin is about creating a balanced complexion while allowing some of your real skin to remain visible. This approach can be especially useful for everyday wear, work, college, casual outings, and situations where you do not want to feel covered in multiple layers.
Use a lightweight base or skin tint if you want to even out the complexion, then apply concealer only to areas that need more coverage. Cream blush can add color without requiring heavy contour, while softly groomed brows and mascara provide definition. A tinted balm or satin lipstick completes the look without making the makeup feel overly formal.
Natural makeup does not mean that acne must be completely hidden. Some redness, marks, or texture may remain visible, and that is normal. The purpose of makeup is to give you styling choices, not to create pressure to achieve perfectly smooth skin.
Keep the complexion breathable-looking
Avoid applying a thick layer of foundation simply because you have a blemish. Use the lightest coverage that meets your needs, and add targeted concealer only where you want extra definition or color correction.
For more inspiration, you can explore these natural-looking summer hairstyles for college to pair with a simple makeup routine. A relaxed hairstyle and balanced makeup can create a polished everyday appearance without requiring a full glam application.
Makeup Ideas for Acne Skin: Everyday and Special Occasion Options
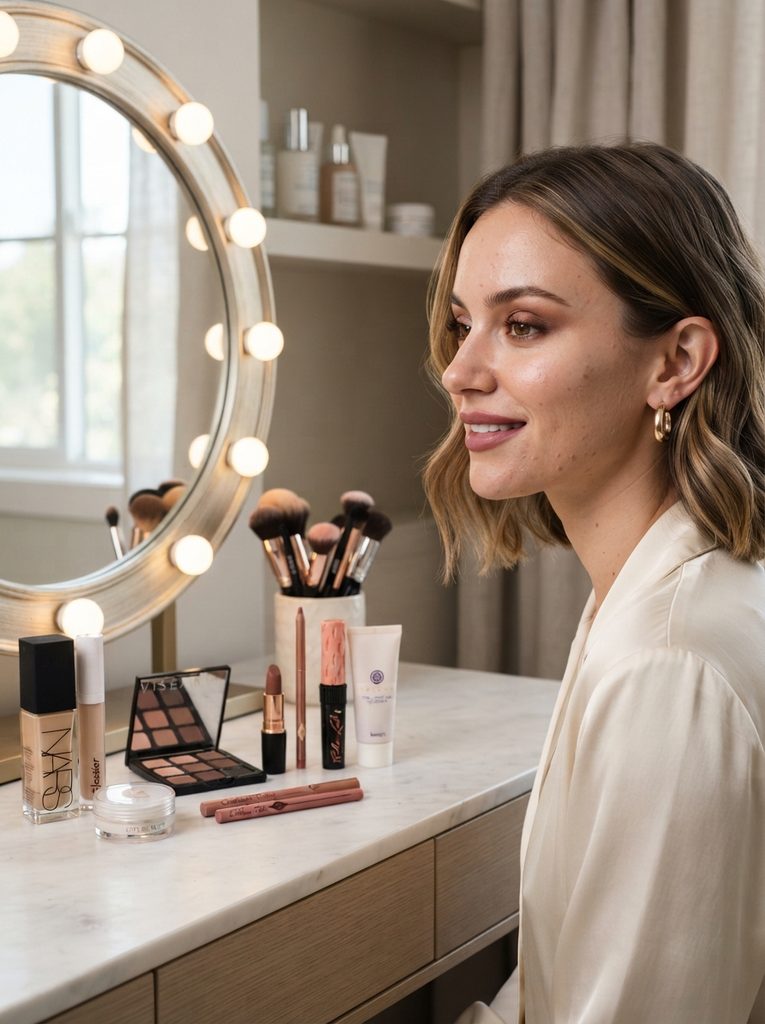
Makeup ideas for acne skin should be based on the finish you prefer and the amount of coverage you need. You can create an everyday look with a small amount of concealer or choose a more defined style for an event without changing your entire routine.
For an everyday look, try a lightweight base, spot concealing, cream blush, brow gel, mascara, and a tinted lip product. For a special occasion, increase the definition around the eyes and lips while keeping the complexion in thin layers. A soft brown smoky eye, rosy blush, or classic lipstick can draw attention to the features you want to highlight.
If your skin has active inflammation, avoid rubbing products into painful areas. Use tapping motions and clean tools. You can also choose to leave a particularly irritated blemish uncovered if applying makeup causes discomfort.
Match the makeup intensity to the occasion
A daytime event may call for natural or satin makeup, while evening lighting can accommodate more defined eyes and lips. The same complexion technique can be adapted by changing the blush, eyeliner, or lipstick rather than applying more foundation everywhere.
A Simple Makeup Tutorial for Acne-Prone Skin
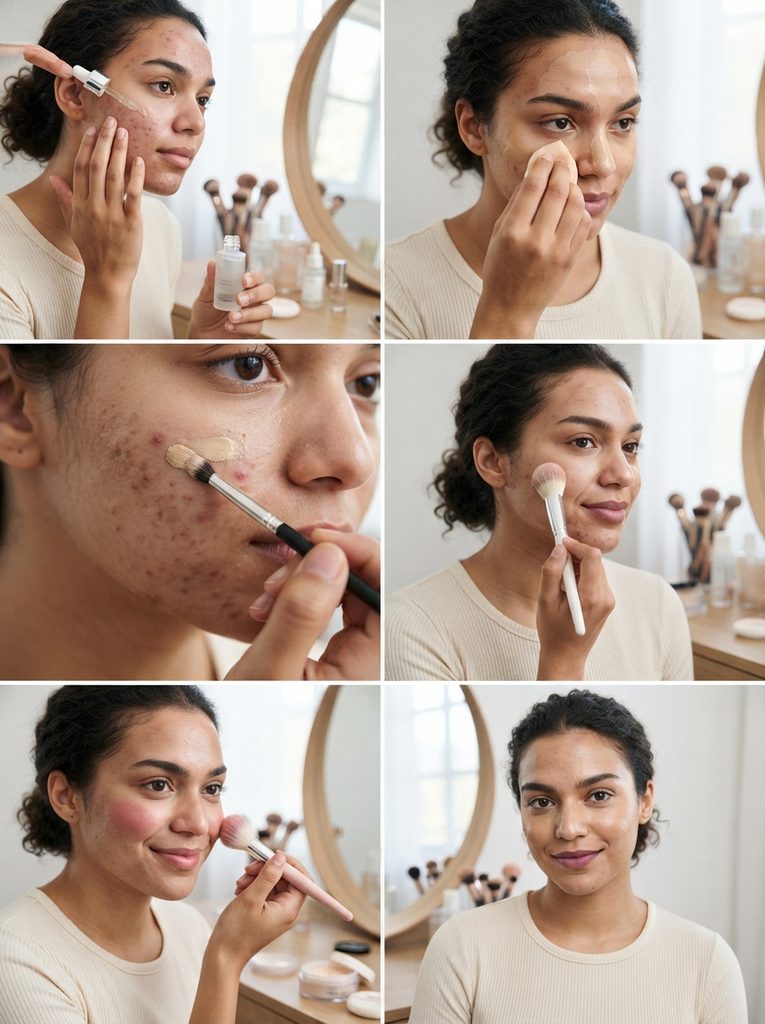
A makeup tutorial for acne should focus on controlled application rather than the number of products used. You can adjust the steps according to your skin type, the amount of coverage you want, and the condition of your skin on that day.
Step 1: Cleanse and moisturize
Wash your face with a gentle cleanser and apply a familiar moisturizer. Give the skincare products time to settle before beginning makeup. Avoid applying makeup over skin that is actively irritated by a product.
Step 2: Apply a suitable base
Use a lightweight foundation, skin tint, or medium-coverage base. Start from the center of the face and blend outward. Do not automatically apply a thick layer to every area.
Step 3: Conceal individual blemishes
Use a small brush to place concealer directly over pimples, marks, or areas of redness. Tap around the edges while keeping the center covered. Add a second thin layer only if necessary.
Step 4: Blend the surrounding complexion
Check the transition between the concealed areas and the rest of your face. A slightly damp sponge can soften visible edges, but avoid pressing repeatedly over the blemish.
Step 5: Add color and definition
Apply blush, brow product, mascara, and lipstick according to your preferred style. Cream blush can look natural, while powder blush may provide additional staying power. Use a light hand when applying products close to irritated areas.
Step 6: Set the makeup selectively
If you need additional longevity, apply a small amount of setting powder to areas that become oily or where concealer tends to crease. Avoid covering the entire face with a heavy layer of powder if your skin is dry or textured.
Step 7: Check the finished look
Inspect your makeup in natural light and take a photograph from a normal distance. A close-up mirror can make minor texture appear more noticeable than it does in everyday settings.
A practical styling addition
If you want a clean, polished appearance, pair the makeup with a simple hairstyle. A sleek ponytail or bun can keep the focus on your face, while a softer hairstyle may complement natural makeup. You can use these slick-back hairstyle ideas for inspiration.
Common Mistakes When Covering Acne With Makeup
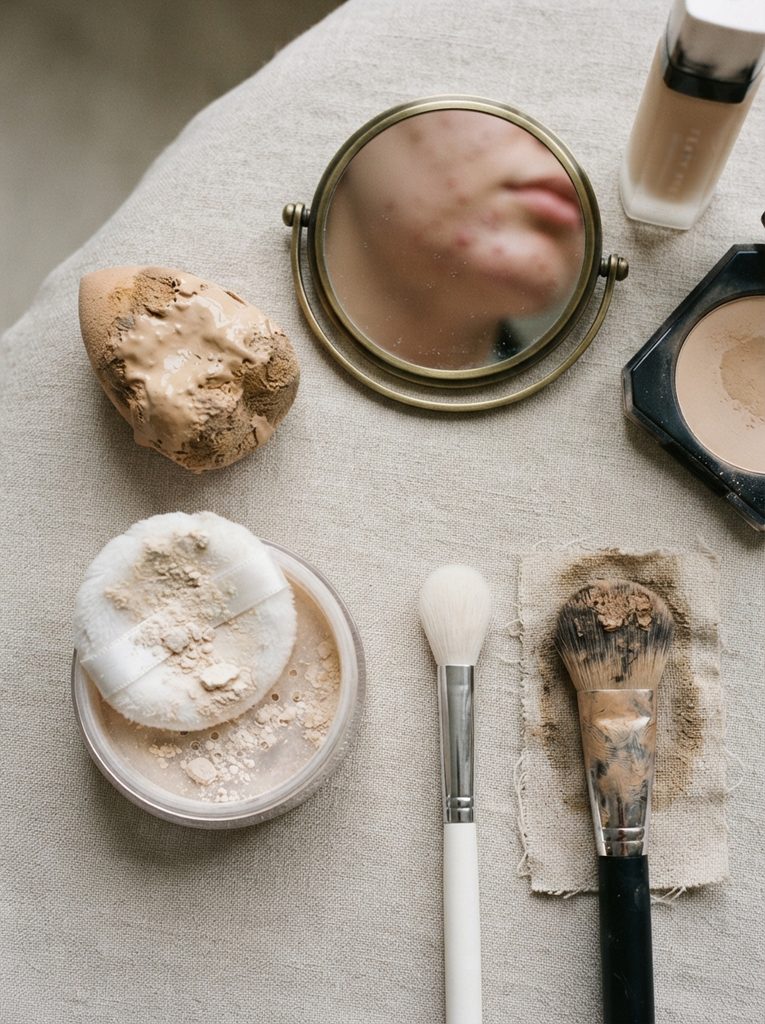
Even suitable makeup products can look uneven when applied with the wrong technique. Many common mistakes involve using too much product, choosing an unsuitable shade, or neglecting makeup hygiene.
Applying too much foundation
More foundation does not always mean better coverage. Thick layers can emphasize raised pimples, dry patches, and uneven texture. Begin with a thin layer and use concealer for targeted coverage.
Using a concealer that is too light
A concealer that is much lighter than your complexion may highlight the blemish instead of concealing it. Match the surrounding skin as closely as possible and check the result in natural light.
Rubbing over a covered blemish
Rubbing can remove the coverage you just applied. Use gentle tapping motions and blend only the edges. If the area is painful or irritated, avoid unnecessary contact.
Applying too much powder
Powder can improve longevity, but excess powder may collect around dry areas and make texture more visible. Apply it only where needed.
Using dirty brushes or sponges
Makeup tools collect product, oil, and debris. Clean brushes regularly and follow the care instructions for sponges. Do not share eye or complexion products with other people.
Sleeping in makeup
Remove makeup before bed, even if you have used a lightweight base. Use a gentle removal routine and avoid scrubbing the skin aggressively.
How to Remove Makeup Without Irritating Acne
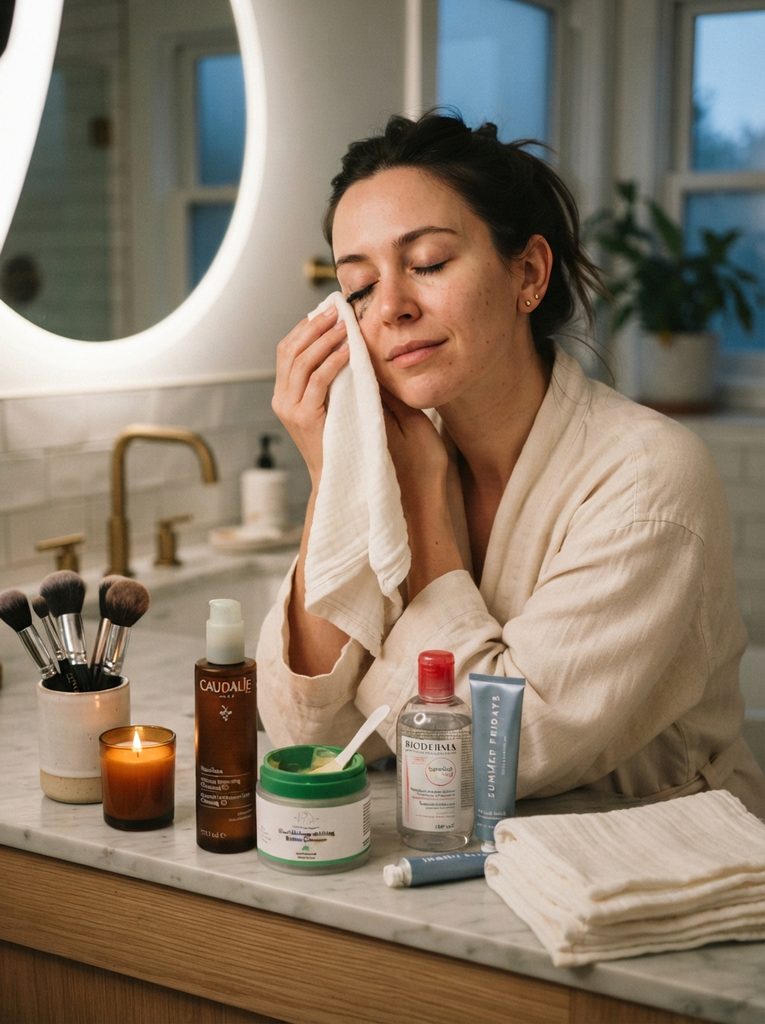
Removing makeup is an important part of a skin-friendly routine. The goal is to remove foundation, concealer, sunscreen, and other products without excessive rubbing or drying the skin.
Start with a makeup remover or cleansing product that suits your skin. If you are wearing long-wearing or water-resistant makeup, use a product designed to remove it rather than scrubbing repeatedly with a face wash. Follow with a gentle cleanser if that is part of your routine.
Use clean hands and avoid rubbing active blemishes. Pat the skin dry with a clean towel, then apply a familiar moisturizer. If your skin feels tight, stings, or becomes increasingly irritated, review the products you are using and consider professional advice.
Clean your makeup tools regularly
Wash brushes according to how often you use them and the product applied. Sponges should be cleaned frequently and replaced when they become difficult to clean, damaged, or develop an unusual odor. Store tools in a clean, dry place.
Frequently Asked Questions
Can makeup make acne worse?
Some makeup products may contribute to clogged pores or irritation in certain people. Choosing products labeled non-comedogenic, removing makeup before bed, and cleaning brushes can help reduce avoidable problems. Individual reactions vary, so observe how your skin responds.
What is the best makeup to cover acne?
The best makeup depends on your skin type, the type of blemishes you want to cover, and the finish you prefer. A lightweight foundation combined with a skin-matched concealer often provides flexible coverage without requiring several thick layers.
How do you hide pimples under makeup naturally?
Use a thin base, then apply a small amount of concealer directly over each blemish. Tap the edges outward, keep the central coverage in place, and avoid applying excessive powder. Natural-looking coverage comes from controlling the amount of product.
Should I use green concealer for acne?
Green color corrector can help neutralize the appearance of some red areas, but it is not necessary for everyone. Use a small amount and cover it with a complexion-matched product. Too much corrector may create a gray or uneven appearance.
How do you cover acne scars with makeup?
Use foundation to even out the overall complexion and concealer to reduce the appearance of darker or red marks. Makeup can conceal discoloration more easily than physical texture. Raised or indented scars may remain visible even with full coverage.
Is full-coverage foundation bad for acne-prone skin?
Full coverage is not automatically unsuitable for acne-prone skin. The formula, ingredients, application method, removal routine, and individual skin response all matter. Use thin layers and select products that feel comfortable on your skin.
How can I stop concealer from separating over pimples?
Prepare the skin with suitable moisturizer, allow skincare to settle, and apply thin layers of makeup. Avoid placing too much skincare, primer, foundation, and concealer over the same area. Set the product lightly if needed.
Can I wear makeup over an inflamed pimple?
You may be able to wear makeup, but comfort and irritation should guide your decision. Avoid rubbing, squeezing, or applying products that sting. If the area is open, severely irritated, or showing signs of infection, seek appropriate medical advice before applying cosmetics.
Final Thoughts
Learning how to cover acne with makeup in 2026 is mainly about choosing the right level of coverage and applying it with patience. A thin foundation layer, targeted concealer, gentle blending, and suitable setting technique can create a more even appearance without making the complexion look excessively heavy.
The most useful approach is flexible. Some days, natural makeup for acne-prone skin may be enough. For special occasions, you may prefer stronger concealer coverage, defined eyes, or a bold lip. Neither choice needs to involve hiding every trace of acne.
Choose products that suit your skin, keep your tools clean, remove makeup before sleeping, and avoid treating makeup as a replacement for acne care. Your skin does not need to look perfectly smooth for your makeup to look beautiful.