
How to Fishtail Braid Your Own Hair: Easy Step-by-Step Guide
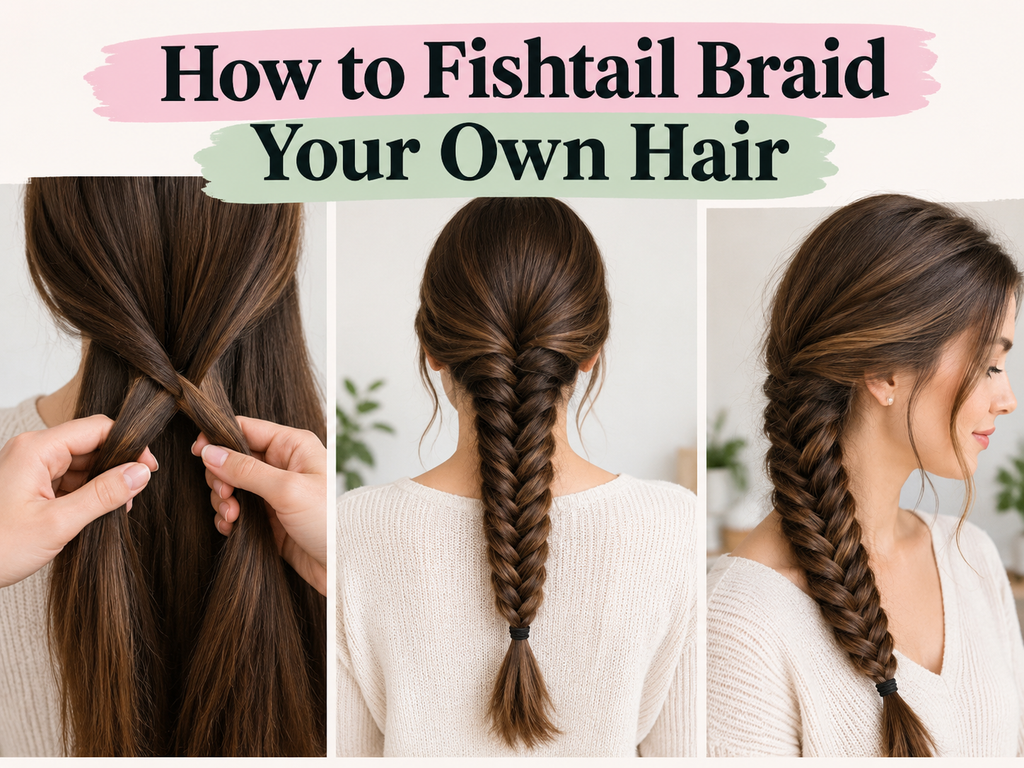
A fishtail braid looks complicated because of its detailed woven pattern, but the actual technique is surprisingly simple. Unlike a traditional three-strand braid, you only work with two main sections and repeatedly move a small piece from the outside of one section into the opposite side.
The harder part is doing it on your own hair. You cannot easily see what your hands are doing at the back of your head, and taking pieces that are too large can quickly make the pattern look more like a regular braid. The trick is to work slowly, keep the two main sections separated, and learn the movement by feel.
If you’re searching for how to fishtail braid your own hair, this guide walks you through the process from preparation to finishing. You’ll also learn an easier way to practice, how to make the braid look fuller, what to do when your strands keep slipping, and how to adapt the technique for different hair types.
What You Need Before You Start
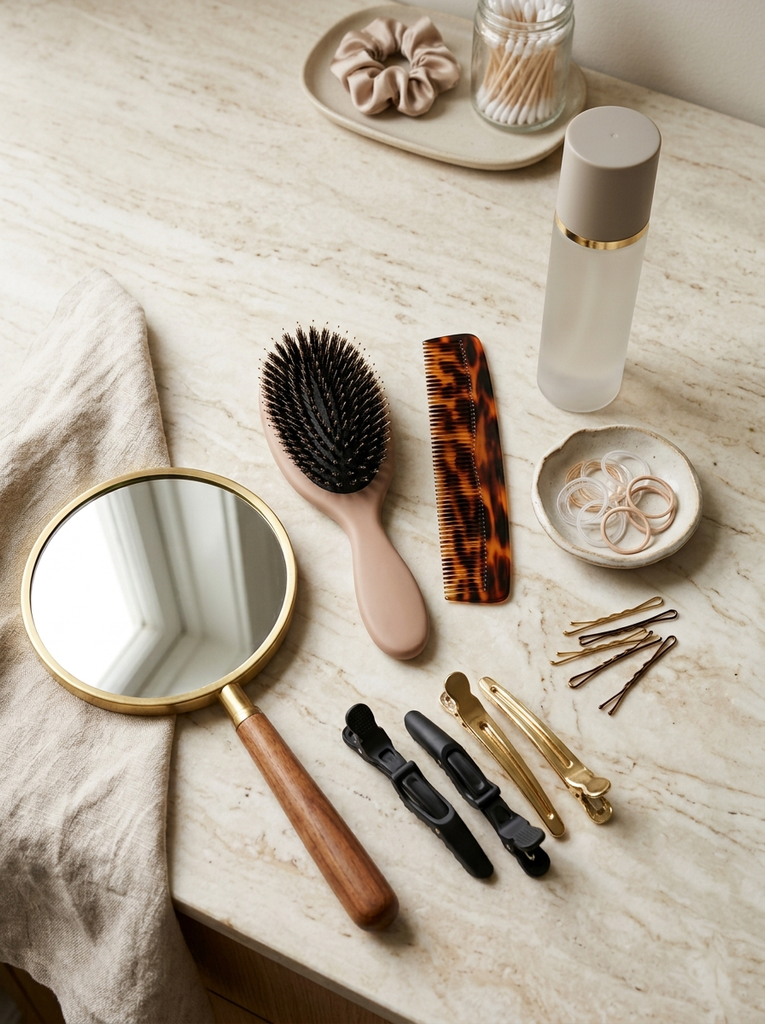
You don’t need many tools to create a fishtail braid. The most important thing is having hair that is detangled and manageable.
Keep these nearby:
- Detangling or paddle brush
- Fine-tooth comb
- Small clear or matching elastic
- Sectioning clips if your hair is thick
- Texture spray or dry shampoo if your hair is very slippery
- A handheld mirror for occasional checks
- A few bobby pins for loose pieces
A little texture can make the process easier, especially if you’ve just washed your hair and it feels unusually smooth. You don’t need a large amount of product. Too much can make the individual strands sticky and harder to separate.
Start With a Comfortable Setup
If you’re learning on yourself, stand somewhere with enough space to move your elbows freely. A large mirror can help you check your starting position, but you don’t need to stare at it throughout the braid.
Step 1. Detangle Your Hair
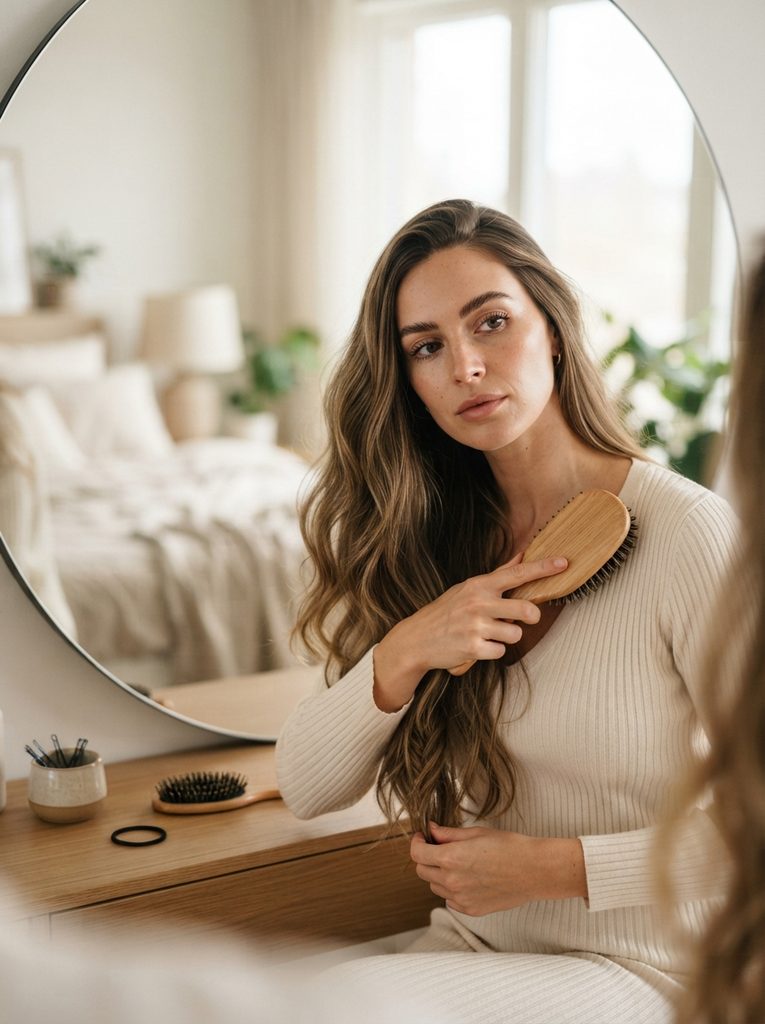
Start by brushing through your hair carefully. Fishtail braids use small pieces repeatedly, so a knot that might be easy to ignore in a normal ponytail can become frustrating during this technique.
Work from the ends upward when detangling rather than repeatedly dragging the brush through a knot from the roots. Once your hair feels smooth, run your fingers through it to check for any remaining tangles.
If you have naturally curly or textured hair, follow your normal detangling routine rather than trying to force your hair completely straight just for the braid.
Check the Back Too
Don’t assume the front is completely detangled. Run your fingers through the hair at the nape and behind the ears because these areas can become difficult to separate once you begin.
Step 2. Decide Whether to Use a Ponytail

If this is your first fishtail braid, starting with a loose low ponytail can make the technique much easier. Gather your hair at the nape and secure it loosely with an elastic.
The ponytail keeps all the hair together while you learn the basic weaving movement. Once you understand the technique, you can remove the elastic and practice directly on loose hair.
A ponytail is not required for a fishtail braid. It is simply a useful beginner shortcut.
Keep the Elastic Loose
Don’t make the ponytail extremely tight. You want enough control to keep the hair together while still being able to separate small pieces from each side.
For more ways to style a ponytail, see Ponytail Hairstyle Ideas.
Step 3. Divide Your Hair Into Two Sections
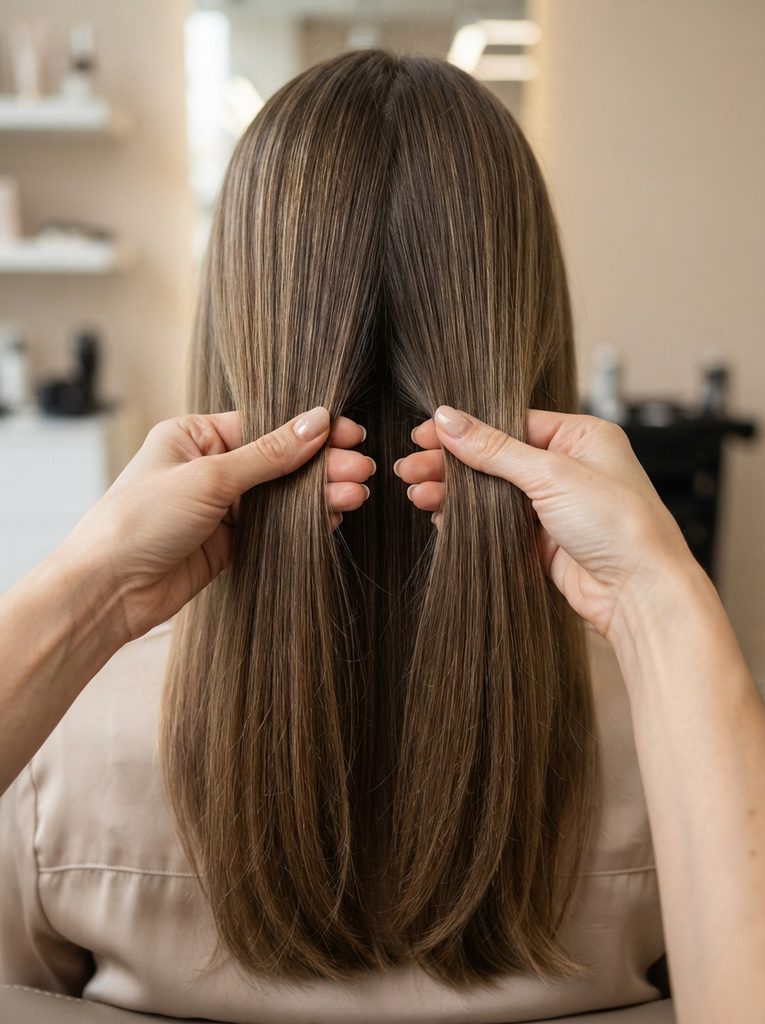
This is the biggest difference between a fishtail braid and a standard three-strand braid.
Instead of three sections, divide all your hair into two large sections:
Left section | Right section
Hold one section in your left hand and the other in your right hand. Try to keep the two sections clearly separated.
The sections do not have to be mathematically identical, but starting with roughly equal amounts makes the finished braid more balanced.
Don’t Create Tiny Main Sections
The two main sections should be substantial. The tiny pieces come from the outside edges of these larger sections.
Think of it like this:
Two big sections.
Many tiny pieces moving between them.
That mental picture makes the technique much easier to understand.
Step 4. Take a Small Piece From the Outside of the Left Section
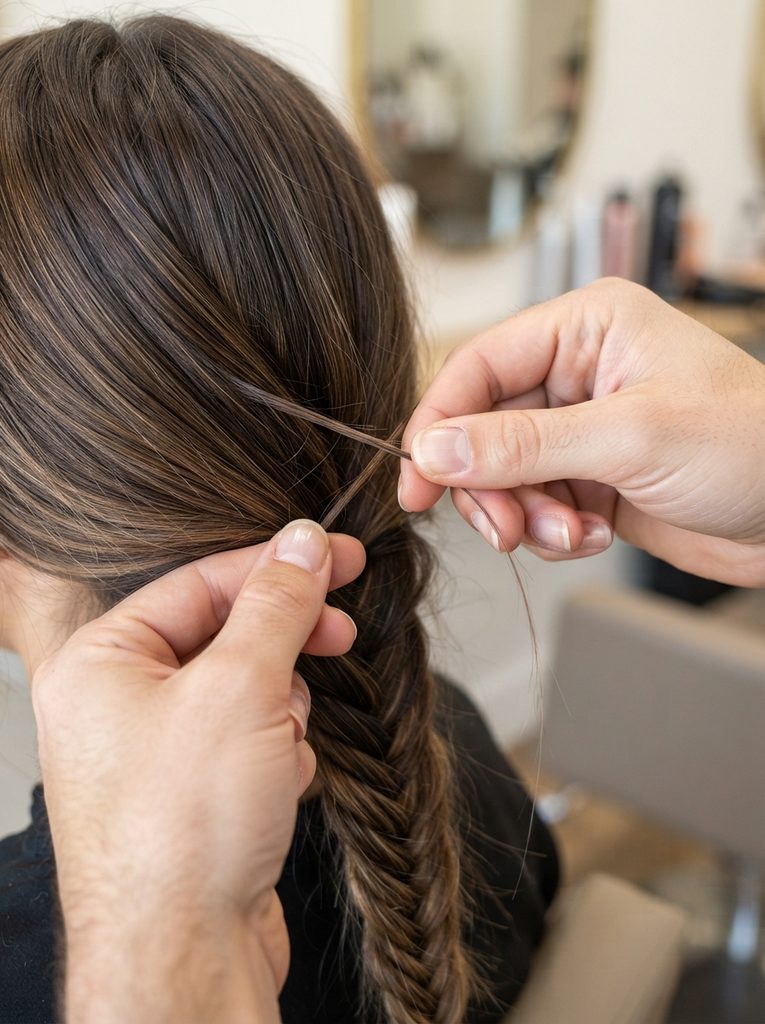
Hold both large sections securely.
From the outside edge of the left section, use your fingers to pick up a very small strand.
Move that strand across the gap between the two sections and place it into the inside of the right section.
That’s your first fishtail movement.
You aren’t moving the entire left section. You’re only taking a thin piece from its outer edge.
Make the Piece Smaller Than You Think
This is one of the most useful beginner tips. If you take a large chunk every time, the woven pattern becomes less defined.
Small pieces create the narrow, detailed appearance that makes a fishtail braid recognizable.
Step 5. Take a Small Piece From the Right Section
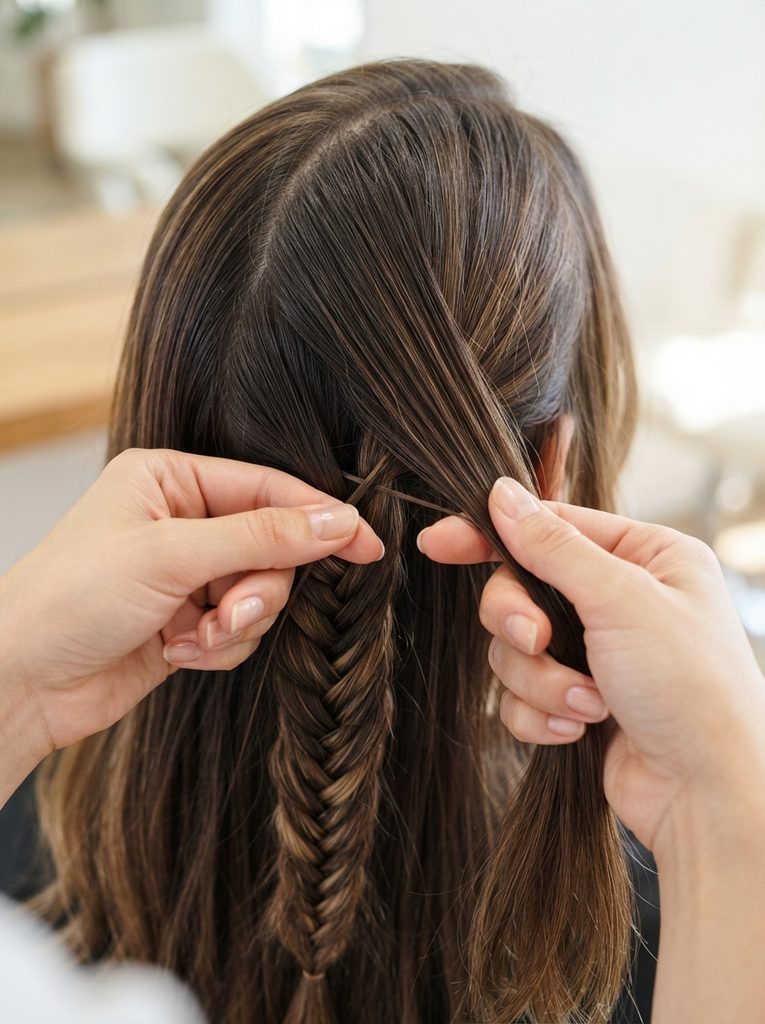
Now repeat the movement on the opposite side.
Take a small strand from the outside edge of the right section.
Cross it over the gap and add it to the inside of the left section.
You have now completed one full cycle:
Left outside → right section
Right outside → left section
That’s the entire foundation of a fishtail braid.
Remember the Outside Edge
Beginners often accidentally take a strand from somewhere in the middle of a section. Try to pick up each new piece from the outside edge.
That keeps the characteristic diagonal pattern clean.
Step 6. Repeat the Two-Part Pattern
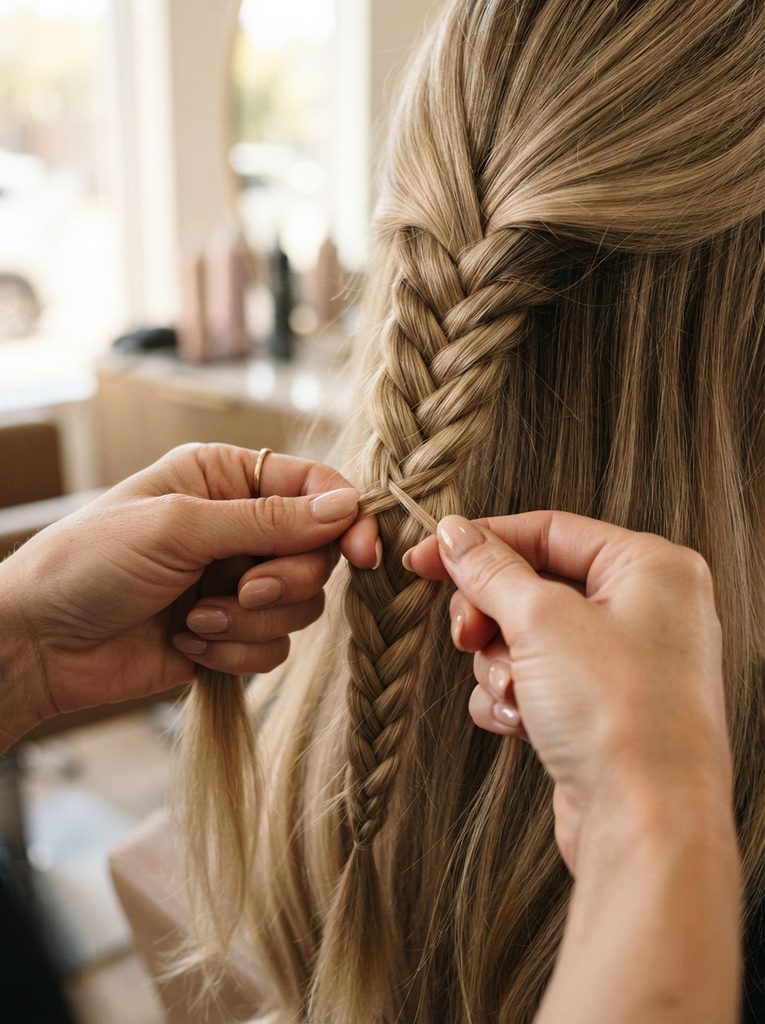
Now keep repeating the same movement:
- Take a small piece from the outside of the left section.
- Move it into the right section.
- Take a small piece from the outside of the right section.
- Move it into the left section.
- Repeat.
After several repetitions, you’ll begin to see the distinctive V-shaped or fishbone-like pattern developing.
The braid becomes easier once you stop thinking about the finished hairstyle and concentrate only on the next small piece.
Find Your Rhythm
Try saying the movement quietly in your head:
Left. Cross. Right. Cross.
You don’t need to rush. A slower, controlled rhythm usually creates a cleaner braid than trying to work quickly.
Step 7. Keep the Two Main Sections Separate
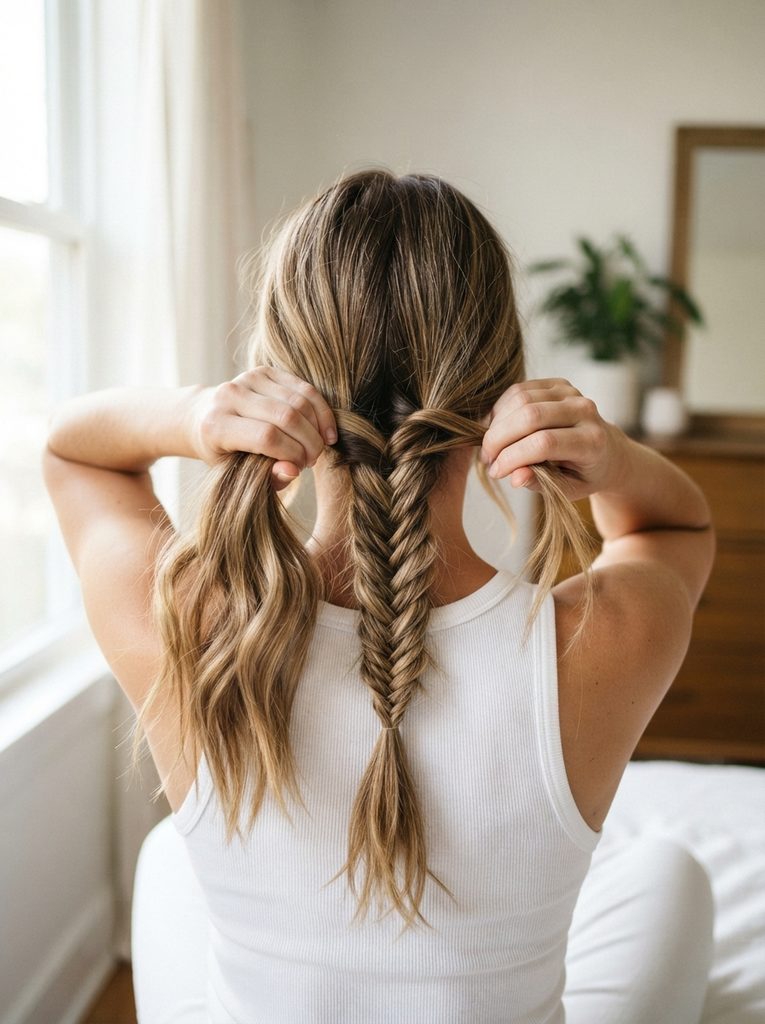
As you continue, the two large sections can start becoming messy because you’re constantly transferring pieces between them.
Whenever that happens, pause for a second.
Use your fingers to separate the left and right sections again, then continue with the next small strand.
This is particularly important when you’re fishtail braiding your own hair, because you can’t always see exactly where one section ends and the other begins.
Don’t Let the Sections Collapse Together
If both sections become one tangled mass, stop and reorganize them before continuing. Trying to grab the next strand without separating the sections usually makes the pattern uneven.
Step 8. Continue Down the Length
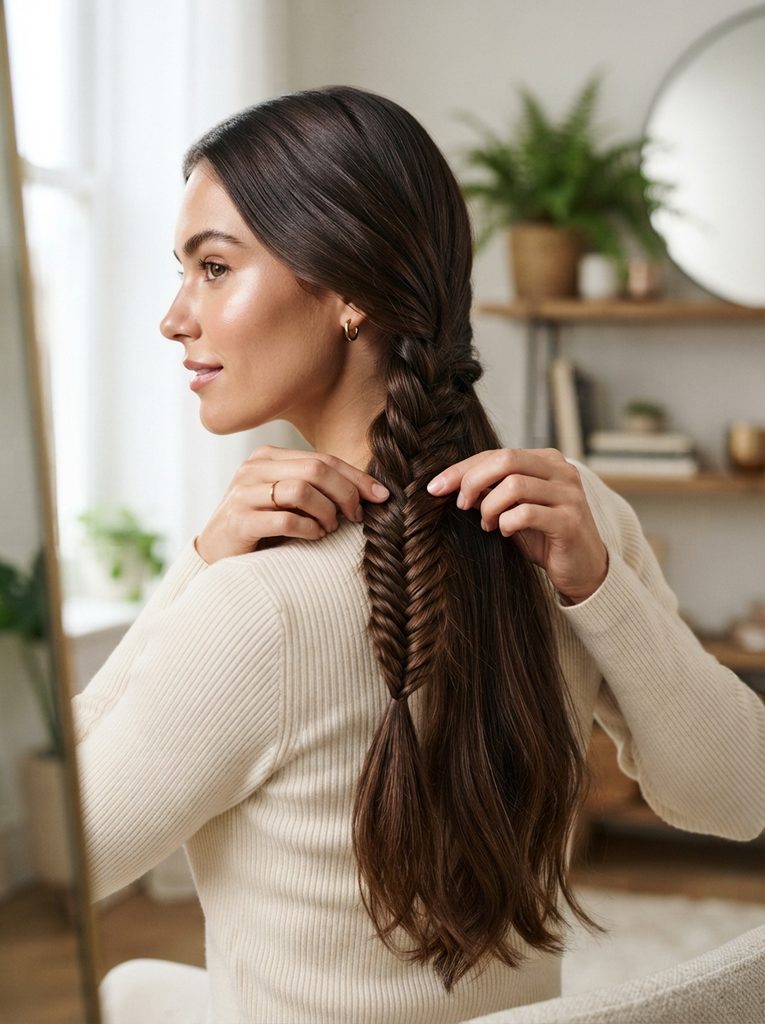
Keep transferring small pieces from one outside edge into the opposite section.
As the braid grows, you’ll notice that the woven pattern becomes easier to see. Keep your hands close to the point where you’re currently working rather than holding the entire braid far away from your head.
If you are using a low ponytail, continue until you reach the desired length. If you’re working directly on loose hair, keep following the same movement down toward the ends.
Stop and Check Your Tension
Every few inches, pause and check the braid. If one side feels much tighter than the other, gently adjust your grip before continuing.
Consistent tension is more important than making the braid extremely tight.
Step 9. Secure the Fishtail Braid
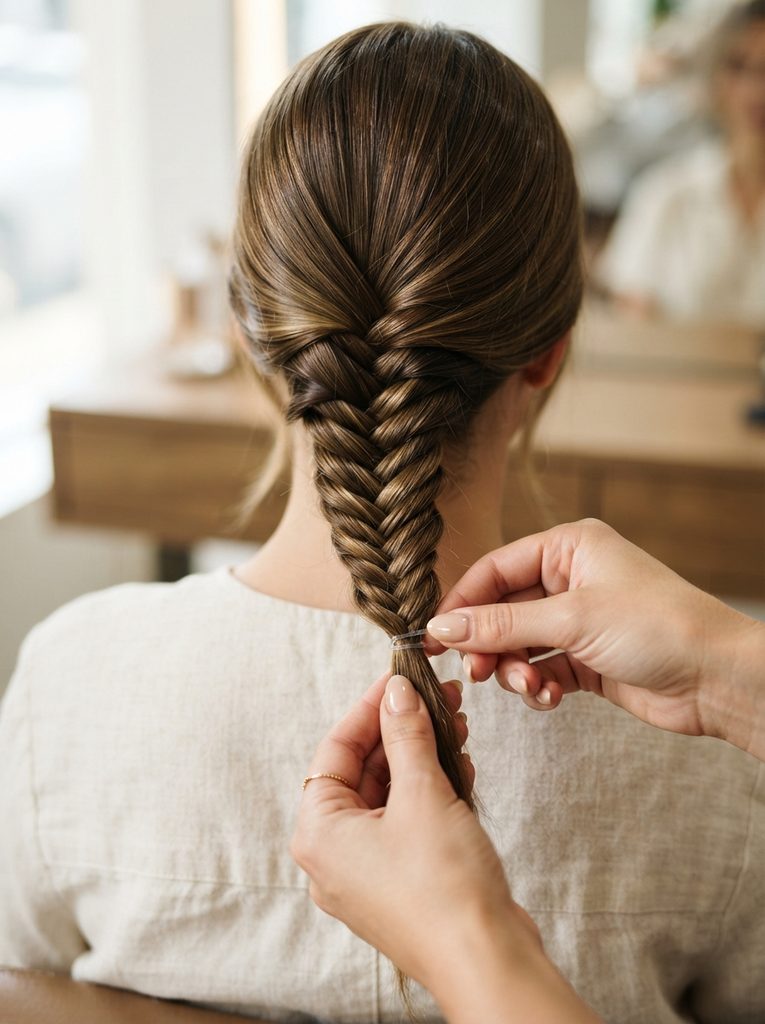
Once you reach the length you want, secure the end with a small elastic.
Don’t worry if the braid looks narrow at this stage. You can decide how much volume you want after it has been secured.
For a polished finish, leave the braid relatively compact.
For a softer hairstyle, gently loosen selected sections along the outer edges.
Secure Before You Loosen
Always put the elastic in first. If you start pulling apart the braid before securing it, the woven sections can shift or unravel.
Step 10. Gently Pull the Braid for More Volume
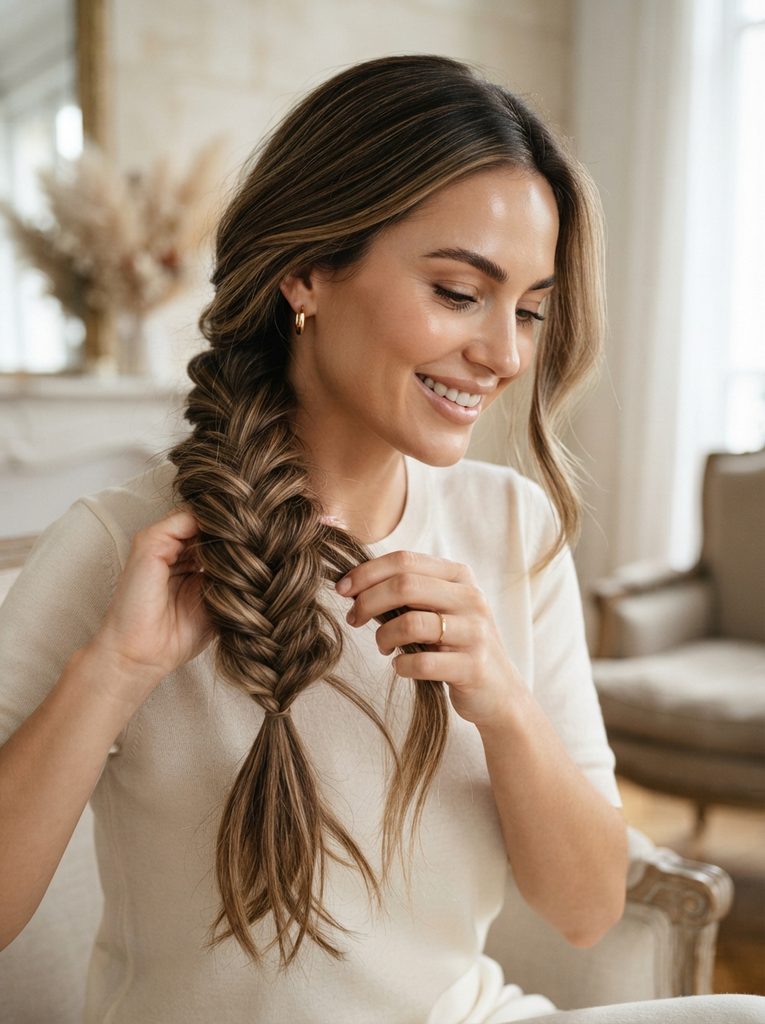
A tight fishtail braid can look narrow and highly defined. If you prefer a fuller, softer style, gently pull the outer loops sideways.
Work from the top toward the bottom and make tiny adjustments. You can always pull the sections a little more, but it is harder to restore a braid after pulling it apart too much.
This technique is particularly useful for fine hair because creating width can make the braid appear fuller.
Make Small Adjustments
Don’t grab an entire section and pull hard. Use your fingertips to make small changes to individual loops while checking the shape after each adjustment.
The Fishtail Braid Pattern in One Sentence

If you forget everything else, remember this:
Take a small piece from the outside of one section, cross it over, and add it to the opposite section. Then repeat on the other side.
Unlike a French braid, you are not continually adding loose hair into three strands. A fishtail braid works with two main sections throughout the weaving process.
Once you memorize that movement, you can concentrate on improving your section size and tension
How to Fishtail Braid Your Own Hair Without Looking
You don’t need to avoid mirrors completely while learning. In fact, a mirror can help you understand where your hands should start.
The goal is to gradually rely less on visual information and more on touch.
Start by looking at the back of your head while setting up the two sections. Once you begin weaving, concentrate on feeling the outer edge of each section with your fingers.
Eventually, you’ll recognize the correct piece without needing to see it.
Use Touch as Your Guide
The outside edge of each section feels different from the center because the hair is separated between your hands. Practice identifying that edge with your fingertips.
This is what eventually makes self-braiding feel automatic.
Common Fishtail Braid Mistakes
If your first attempt doesn’t look like the photos you saved, check these common problems.
Your pieces are too large: Smaller transferred strands create more visible detail.
The two sections keep mixing: Pause and separate them before continuing.
One side looks thicker: Try taking similarly sized pieces from both sides.
The braid is too tight: Use gentler tension and avoid repeatedly pulling the hairline.
The braid becomes loose: Keep your hands close to the working area and maintain consistent pressure.
You lose track of the pattern: Return to the basic sequence: outside piece, cross, opposite section.
You rush: Slow down. Fishtail braiding rewards consistency much more than speed.
Fix the Technique, Not the Entire Braid
If the bottom looks uneven, don’t automatically undo everything. Look at where the pattern started changing and adjust your next few pieces.
With practice, you’ll learn to correct small mistakes while continuing the braid.
How to Make a Fishtail Braid Look More Defined

The size of the transferred strands has the biggest visual effect on the finished pattern.
For a detailed, intricate braid, use very thin pieces.
For a softer, faster braid, use slightly larger pieces.
The braid does not need identical strands from beginning to end. However, keeping them reasonably consistent will make the pattern look intentional.
Use Fine Pieces Near the Front
If you’re wearing the braid over one shoulder or starting it higher on the head, smaller pieces near the visible sections can make the pattern look especially detailed in photographs.
Easy Practice Method for Beginners

If you are finding it difficult to start directly on your own loose hair, use the low-ponytail method first.
Secure your hair loosely at the nape.
Divide the ponytail into two sections.
Practice transferring tiny pieces from left to right and right to left.
Once you can complete the ponytail version without losing the pattern, remove the elastic and practice the same technique on loose hair.
This removes one of the hardest parts of self-braiding: trying to control all your loose hair while simultaneously learning the movement.
Practice the Movement Before the Hairstyle
Your first goal is not a perfect Pinterest-worthy braid.
Your first goal is being able to repeat the two movements without stopping.
Once that becomes automatic, neatness becomes much easier to improve.
Fishtail Braid Variations to Try
Once you can create a basic fishtail braid on your own hair, you can change the placement and finish without learning an entirely new technique.
A side fishtail braid gives a relaxed, romantic look and is especially easy to wear over one shoulder.
A half-up fishtail keeps the sides of your hair loose while adding a braided detail at the crown.
A fishtail ponytail is a simple way to combine a polished ponytail with the detailed woven pattern.
A double fishtail braid divides the hair into two sections and creates matching braids on both sides.
A loose fishtail can be gently pulled apart for a softer, fuller appearance.
Master One Version First
Don’t try all the variations during your first practice session. Get comfortable creating one basic fishtail before changing the placement or structure.
For another braided style with a relaxed texture, you can also explore Boho Braids for Long Hair.
How to Create a Side Fishtail Braid
A side fishtail is one of the easiest variations to try after learning the basic technique. Bring your hair over one shoulder and divide it into two sections.
Instead of working behind your head, you’ll be able to see more of the braid as you weave. This makes it a useful practice option if you are still developing confidence with your hands.
Keep taking small pieces from the outside of each section and transferring them across until you reach the ends.
Let the Braid Stay Relaxed
A side fishtail doesn’t need to be extremely tight. A slightly relaxed finish can create a soft shape that works well for casual outfits, dinners, dates, and special occasions.
How to Make a Half-Up Fishtail Braid
For a half-up version, take two sections from the upper sides of your head and bring them toward the back.
Secure them temporarily if necessary, then divide the combined hair into two sections and use the same fishtail weaving technique.
Continue for several inches before securing the braid and leaving the remaining hair loose.
This style works particularly well when the loose hair is naturally wavy or given a soft curl.
Keep the Loose Hair Separate
Before beginning the braid, make sure the hair underneath is clipped or moved out of the way. This prevents you from accidentally incorporating sections that should remain loose.
For more half-up inspiration, explore Half-Up Half-Down Homecoming Hairstyles.
Fishtail Braid for Long Hair

Long hair gives you more room to show the woven pattern, especially when you use very small transferred strands.
If your hair reaches below your shoulders, you can experiment with different braid lengths. A long, narrow fishtail creates a dramatic look, while a shorter braid can feel more casual.
Long hair can also make the finished braid heavier, so avoid pulling excessively tight simply to make the style stay in place.
Use the Extra Length
If you have very long hair, try keeping the transferred strands fine from the beginning. The additional length will naturally showcase the repeated pattern.
For another collection of styles designed around longer lengths, see Bridesmaid Hairstyles for Long Hair.
How to Fishtail Braid Fine Hair
Fine hair can create a delicate fishtail pattern, but the braid may appear narrow if you leave it tightly woven.
After securing the braid, gently loosen selected outer loops to add width. You can also use a small amount of texture product before starting if your hair tends to slip out of your fingers.
Avoid applying too much product because heavy buildup can make fine strands difficult to separate.
Add Width After Securing
A few small pulls along the outer edges can make a noticeable difference without requiring you to change your technique.
How to Fishtail Braid Thick Hair
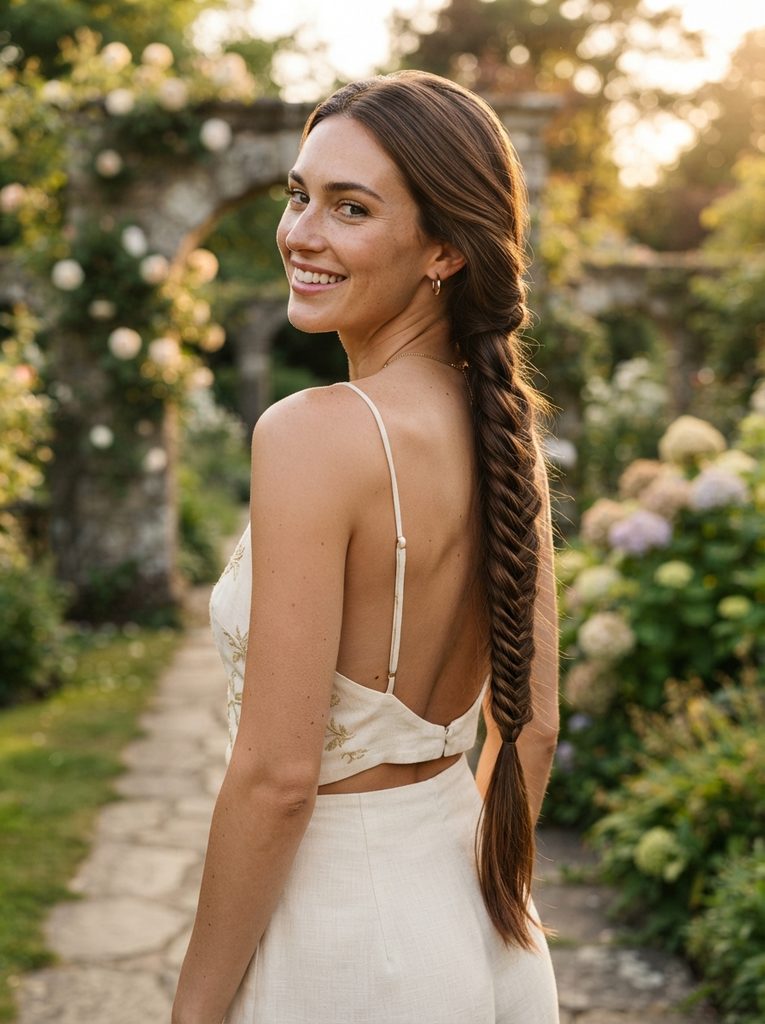
With thick hair, the main challenge is controlling the amount of hair in each section.
Start with two substantial sections and use smaller pieces from their outer edges. If your hands become tired, pause briefly and separate the sections again before continuing.
Sectioning clips can also help while you’re setting up the hairstyle, particularly if your hair is very dense or layered.
Don’t Make the Transferred Pieces Too Large
Thick hair already creates substantial sections. Smaller transfers will give you a more recognizable fishtail pattern and prevent the braid from looking bulky.
How to Fishtail Braid Wavy Hair

Wavy hair can make a fishtail braid look naturally fuller and textured. You don’t necessarily need to straighten it first.
Detangle gently, preserve the natural wave pattern, and begin the braid once the hair is manageable. Small pieces will naturally blend into the surrounding texture as you work.
If some waves escape around the face, you can leave them loose for a relaxed finish.
Work With Your Natural Texture
The slightly imperfect appearance of wavy hair can actually make a fishtail braid look more effortless. Don’t try to flatten every strand.
How to Fishtail Braid Curly Hair
Curly hair can produce a beautiful full fishtail braid, although the preparation may be different from straight hair.
Follow your normal detangling routine first. If necessary, gently stretch or elongate the curls to make the two main sections easier to control.
You don’t have to remove all your natural texture. Keeping some curl through the braid can create a softer, more dimensional result.
Don’t Pull the Curls Apart Excessively
Work with manageable sections instead of repeatedly brushing through the hair. Excessive manipulation can disrupt your natural texture.
How to Keep a Fishtail Braid From Falling Apart
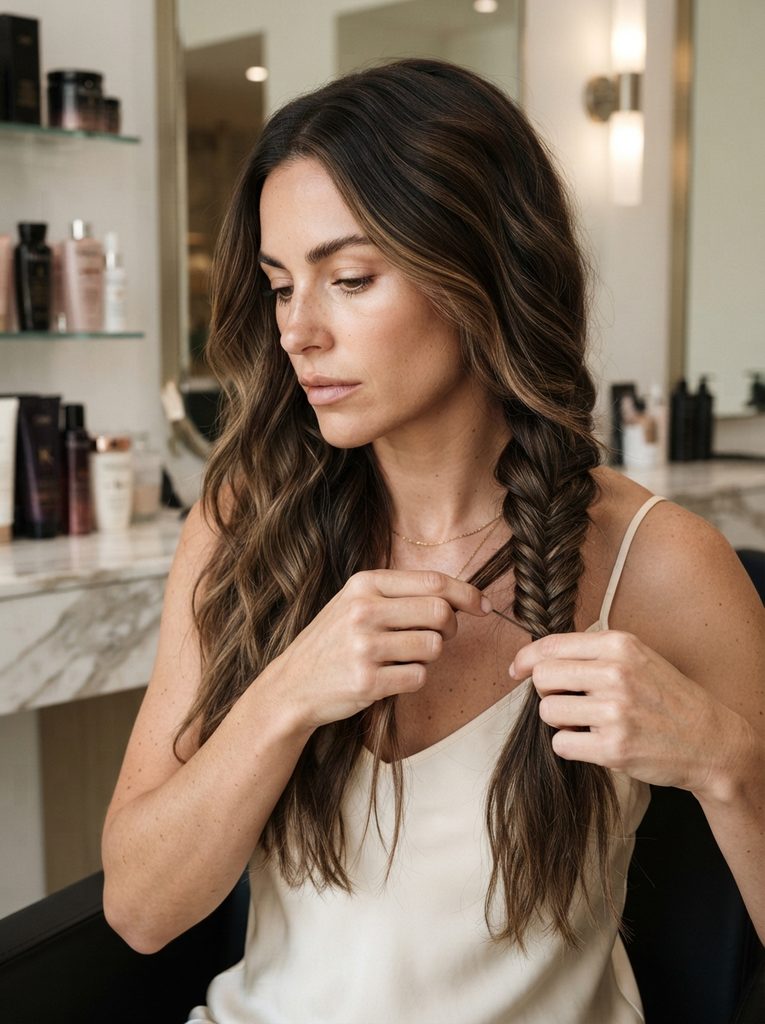
A fishtail braid can loosen during the day if the transferred sections are too large or the tension changes repeatedly.
Start with a secure but comfortable grip. Once the braid is complete, use a suitable small elastic and check the end before loosening the braid for volume.
If your hair is particularly slippery, a little texture product before braiding may help provide grip.
Avoid Constant Touching
Once your braid looks the way you want, leave it alone. Repeatedly pulling at the sections can gradually loosen the woven pattern.
Why Does My Fishtail Braid Look Like a Regular Braid?
The most common reason is that the pieces you’re transferring are too large.
The signature fishtail pattern becomes more visible when you take small pieces from the outside edge of each main section. If you move large chunks, the pattern becomes wider and less detailed.
Another possibility is that your two main sections are becoming mixed together.
Make the Pieces Thinner
Try taking half the amount of hair you used during your previous attempt. You may immediately notice a more defined woven pattern.
Why Is My Fishtail Braid Crooked?
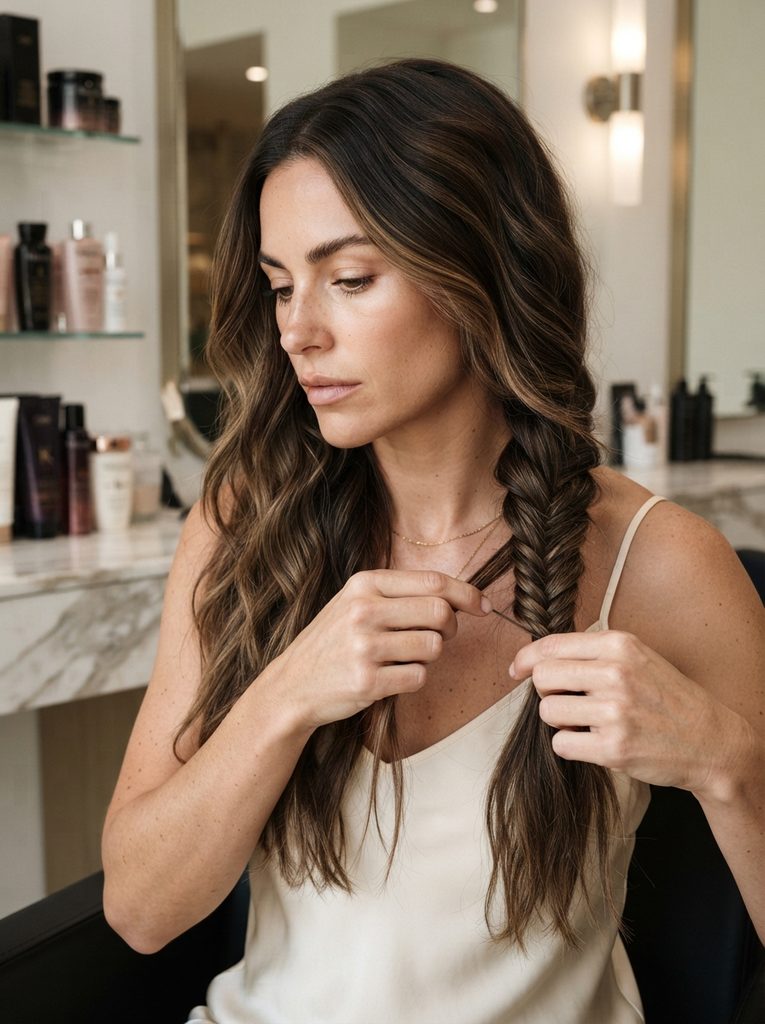
A crooked braid usually comes from uneven tension or inconsistent section sizes.
If you pull one side harder than the other, the braid can gradually shift in that direction. Taking noticeably larger pieces from one side can also change the shape.
Pause every few inches and check the direction of the braid.
Correct It Early
If you notice the braid moving to one side, adjust your next few transfers rather than waiting until you’ve reached the ends.
How to Fishtail Braid Your Own Hair Faster
Don’t try to increase your speed immediately.
First, learn the movement slowly enough that you don’t have to think about which strand comes next. Once the sequence becomes automatic, your hands will naturally become faster.
You can also practice the movement while sitting comfortably rather than standing in front of a mirror. The less pressure you put on yourself to finish quickly, the easier it is to build muscle memory.
Use a Simple Rhythm
Repeat:
Left outside → right section
Right outside → left section
Then start again.
That rhythm is much easier to remember than trying to memorize individual finger positions.
Can You Fishtail Braid Without a Mirror?
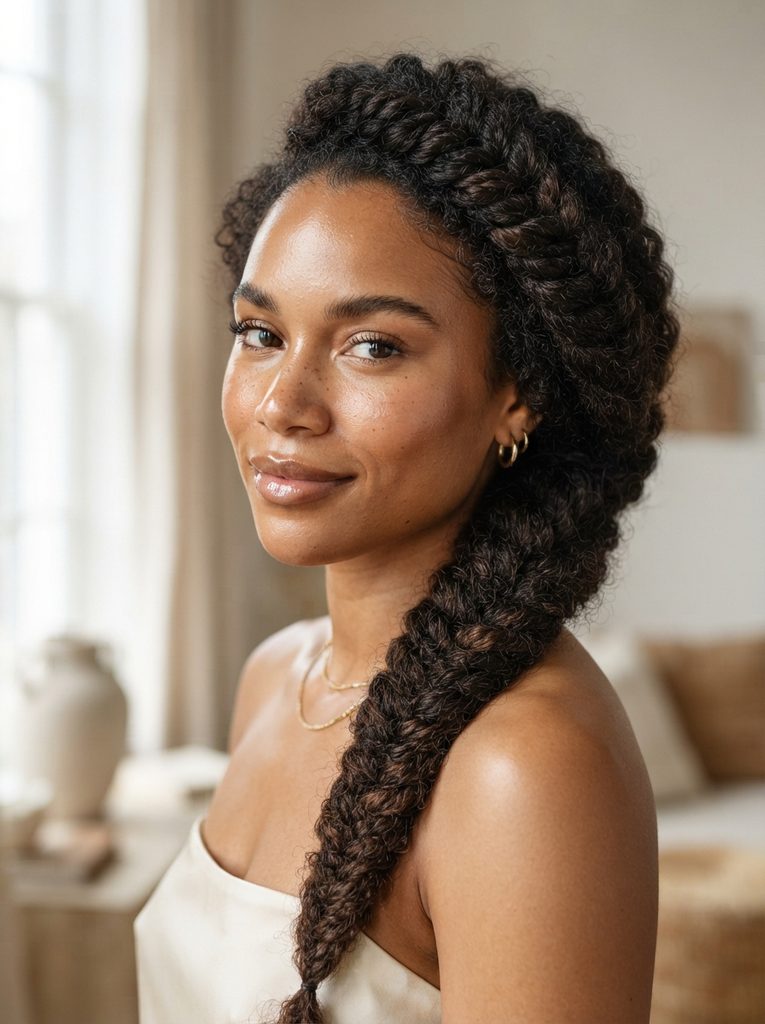
Yes. Once you’ve practiced enough, you can learn to create the braid mainly by touch.
However, you don’t have to avoid mirrors while learning. Use one during the setup and occasionally check your progress while practicing.
Over time, you’ll become familiar with the feeling of the two sections and the outside edges where you need to take each small strand.
Let Your Hands Learn
Muscle memory develops through repetition. If you make the same movement regularly, you will gradually need less visual assistance.
Fishtail Braid vs. Regular Three-Strand Braid
A regular braid uses three main sections.
A fishtail braid uses two main sections and repeatedly transfers small pieces from one side into the other.
The fishtail technique therefore has fewer main sections to manage, but the individual transfers are much smaller. That’s why a fishtail can look more intricate even though the basic movement is quite simple.
Think Two, Not Three
If you already know how to make a regular braid, don’t try to apply the same three-section movement here. Reset your hands and think of the hairstyle as two large sections with tiny pieces moving between them.
Fishtail Braid vs. French Braid
The techniques are quite different.
A French braid begins with three sections and gradually incorporates additional loose hair as you work down the head.
A fishtail braid normally works with two sections. Instead of adding loose hair to the braid from the sides, you repeatedly transfer tiny pieces between the two existing sections.
If you’ve already learned French braiding, the main challenge is remembering to switch from three sections to two.
For another detailed braided hairstyle, see French Curl Braids.
Easy Fishtail Braid Finishing Ideas
The same braid can look completely different depending on how you finish it.
For a polished look, keep the braid compact and smooth.
For a boho look, gently loosen the outer sections and leave a few face-framing pieces free.
For a romantic look, add soft waves around the braid and a subtle ribbon.
For a formal look, use a small pearl pin or elegant accessory near the top.
For an everyday look, simply secure the braid and leave the natural texture untouched.
Add Accessories Last
Finish the braid first. Once the shape and volume are right, add any ribbon, clip, or decorative detail.
Fishtail Braid Practice Routine
If you are struggling to learn the technique, give yourself a simple practice plan.
Day 1: Practice dividing hair into two sections.
Day 2: Practice transferring small pieces from left to right.
Day 3: Practice the opposite movement from right to left.
Day 4: Combine both movements.
Day 5: Complete a full fishtail braid.
Day 6: Practice keeping the section sizes consistent.
Day 7: Try creating the braid without constantly checking the mirror.
You don’t need to spend a long time practicing. A short session where you focus on one movement can be more useful than repeatedly starting over because the finished braid isn’t perfect.
Practice on a Comfortable Day
Choose a time when you aren’t rushing to leave the house. This gives you permission to undo the braid and try again without pressure.
Fishtail Braid FAQ
Is a fishtail braid hard to do on yourself?
It can feel awkward at first because your hands are working behind your head, but the technique itself is simple. Once you learn to move a small outside piece from one section into the other, the same movement repeats throughout the braid.
How many sections do you need for a fishtail braid?
You only need two main sections. Small pieces are repeatedly taken from the outside of one section and transferred into the opposite section.
Can I fishtail braid my own hair without a mirror?
Yes. Beginners can use a mirror for setup and occasional checks, then gradually practice by touch. With repetition, your hands can learn where to find the outside strands.
Why does my fishtail braid look too thick?
You may be transferring pieces that are too large. Try using thinner pieces from the outside edge of each section.
How do I make a fishtail braid look fuller?
After securing the braid, gently pull the outer loops sideways. Make small adjustments so you can control the amount of volume.
Is a fishtail braid easier than a French braid?
The basic fishtail movement can feel simpler because it uses two main sections instead of three. However, the tiny strand transfers can take some practice, particularly when you’re working on your own hair.
Can you fishtail braid short hair?
Yes, provided there is enough length for the sections to overlap and stay together. Shorter layers may escape more easily, so smaller sections and light styling products can help.
Is a fishtail braid good for thick hair?
Yes. Thick hair can create a full and detailed fishtail braid. Smaller transferred pieces can help keep the woven pattern visible.
Can you fishtail braid curly hair?
Yes. Curly hair can create a full textured result. Detangle gently first and work with your natural texture rather than repeatedly pulling the curls apart.
How do I stop a fishtail braid from becoming loose?
Use consistent tension, take small pieces, keep the two main sections separated, and secure the end firmly with an appropriate elastic. Avoid repeatedly touching the finished braid.
Can I sleep in a fishtail braid?
You can sleep with a comfortable braid, but avoid making it excessively tight. If your scalp feels painful or your hair feels under significant tension, loosen or remove the style.
Final Thoughts
Learning how to fishtail braid your own hair is much less complicated once you reduce the technique to its basic movement. Start with two sections, take a small piece from the outside of one section, move it into the opposite section, and repeat from side to side.
The detailed appearance comes from consistency rather than complicated hand movements. Smaller pieces create a more intricate pattern, while larger pieces create a softer and faster braid. Your first attempts may be uneven, but that is part of learning the technique.
If you’re still struggling, start with a loose low ponytail and practice the two-section weaving pattern first. Once your hands understand the movement, try it on loose hair. With regular practice, you’ll eventually be able to create a fishtail braid without constantly looking in the mirror.